20 Halloween Window Ideas: Painting, Silhouettes & Lights

Jump to an idea (20)
- Before you start
- 1. Paint a flock of bats across a moon
- 2. Paint a row of jack-o'-lanterns with a ghost
- 3. Stick up vintage-style cutouts in the upper panes
- 4. Tape a black paper haunted house skyline to the glass
- 5. Back black witch and cat silhouettes with orange fabric
- 6. Cut glowing eyes into black fabric
- 7. Stick on black monster and spider decals
- 8. Stretch cobweb across the panes and add spiders
- 9. Hang plastic skeletons from twine
- 10. Hang a witch hat in the window
- 11. Hang paper bats on thread
- 12. Hang a witch-and-cat silhouette ornament
- 13. Hang cheesecloth ghosts in front of the glass
- 14. String paper pumpkin lanterns across the top
- 15. Set one glowing carved pumpkin on the sill
- 16. Line up three pumpkins on the sill, one carved
- 17. Add warm string lights outside the window
- 18. Fill the window with shelves, gourds and a light string
- 19. Light a window purple from inside
- 20. Build a witch display behind the glass
- Final tips
Window decorating is the fast way to get a house to look ready for Halloween. A pane of glass is a blank canvas that people see from the street, from the sidewalk and from inside, and one afternoon is enough to do a window well.
This list covers 20 ideas across painting, silhouettes, lights, cling decals and hanging pieces, plus the removal notes that keep your glass and frames in good shape. Pick one or two for a small apartment, or mix a few across a whole front of the house. For more ideas, browse all of our Halloween decorating posts.
Before you start
- Use washable window paint. Look for paint labeled washable and made for glass, or liquid window markers. Skip permanent acrylics.
- Test a corner. Try a small spot first, let it dry, then wipe it off to confirm it comes clean.
- Use painter's tape. It holds paper and fabric to glass and comes off without residue. Avoid packing tape and masking tape left on for weeks.
- Draw first with a dry-erase marker on the inside, then paint over from the outside, or trace a printed template taped behind the glass.
- No open flame. Keep real candles away from curtains, paper and cobweb. Use LED tealights and cool LED string lights, and keep any fabric a few inches off a bulb.
- Keep wood frames dry. Wipe paint off glass without soaking painted or old wood frames.
- Take it down soon. Paint left on glass for weeks is much harder to remove, so plan to wipe it off in early November.
1. Paint a flock of bats across a moon
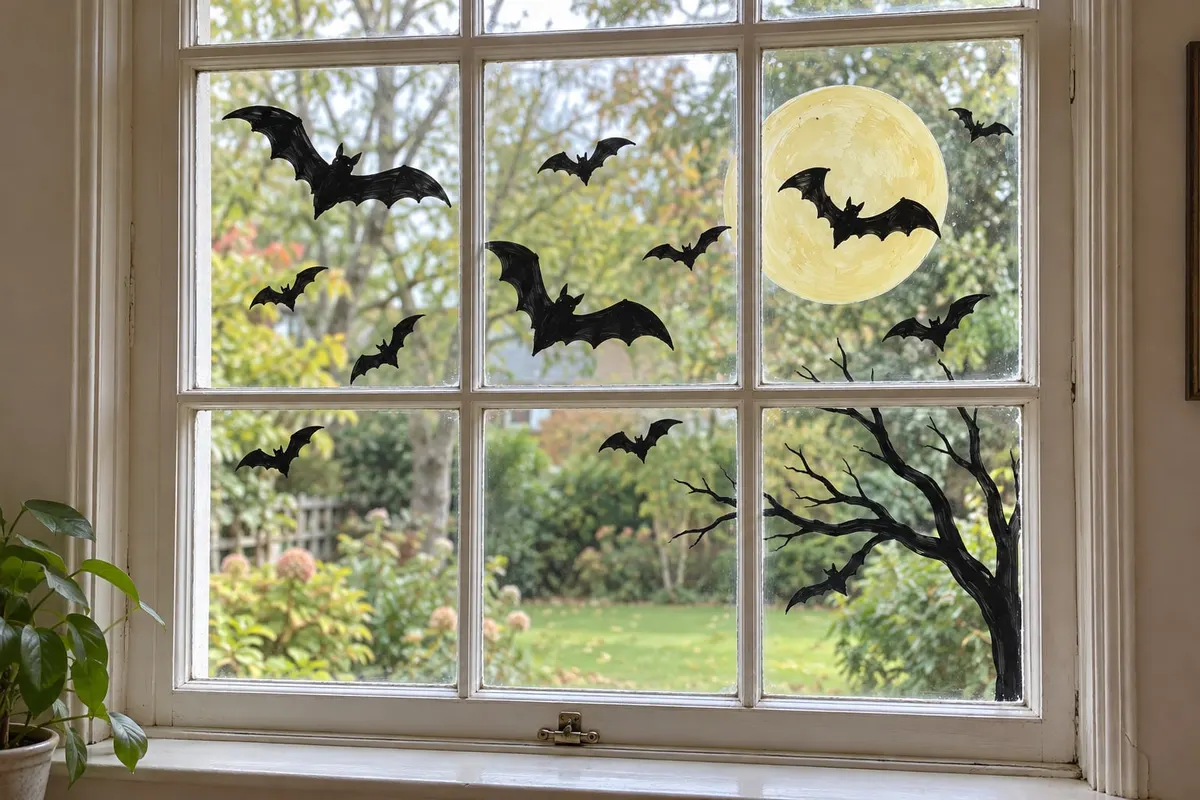
Start with the moon: a pale yellow circle about the size of a dinner plate, painted in the upper corner of one pane. Then add black bats in different sizes flying toward it, plus a bare tree trunk with a few branches along one side. The window pictured has eleven bats, which is plenty.
Use washable window paint and a flat brush. Sketch the layout first with a dry-erase marker, since it wipes off if you hate it. Paint the big shapes, let them dry for 20 minutes, then add small details. Bats are forgiving because a wobbly wing still looks like a wing.
2. Paint a row of jack-o'-lanterns with a ghost
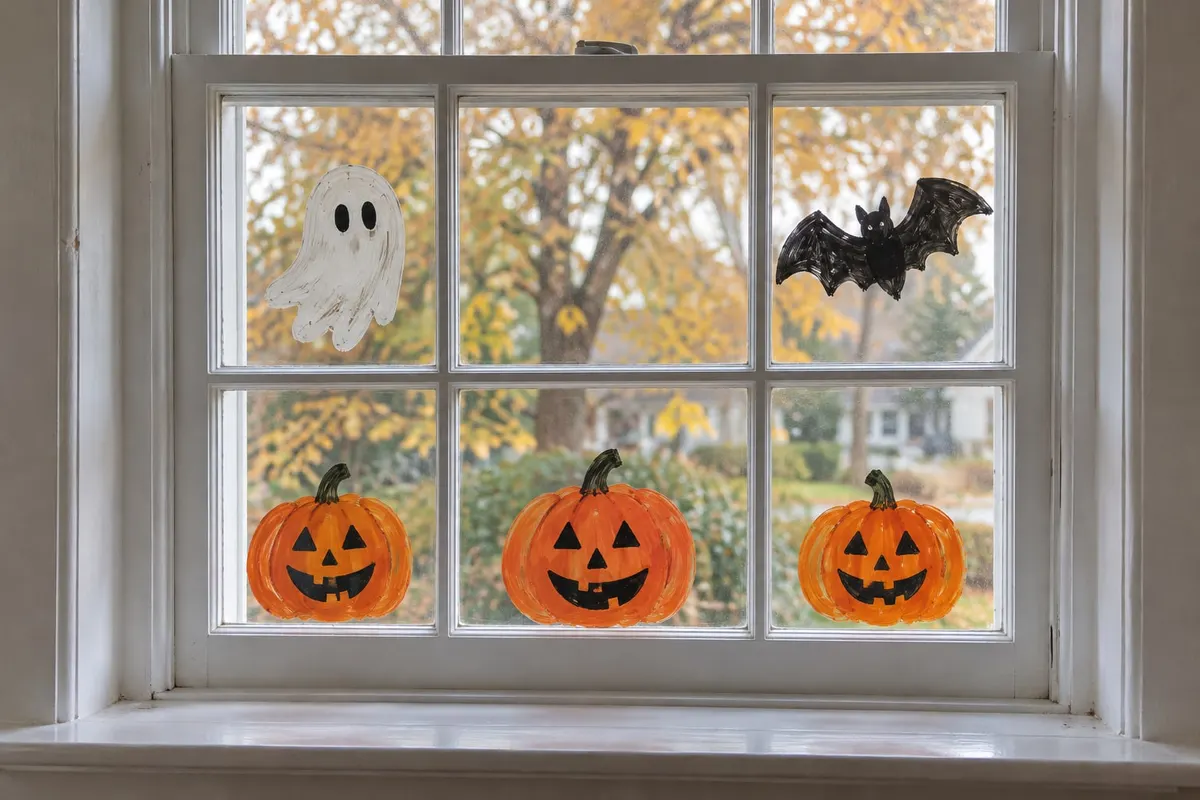
Pumpkins are the easiest thing to paint on glass, so this is the one to try first if you have never done it. Paint three orange ovals in a row, add dark stems, then fill in black triangle eyes and a jagged smile. A white ghost with black eyes and one bat above them finishes the scene.
Paint each shape in a flat coat first, wait until it is dry to the touch, and only then add faces. Putting black on wet orange turns it muddy. A second coat of orange makes it glow more when the sun comes through.
3. Stick up vintage-style cutouts in the upper panes
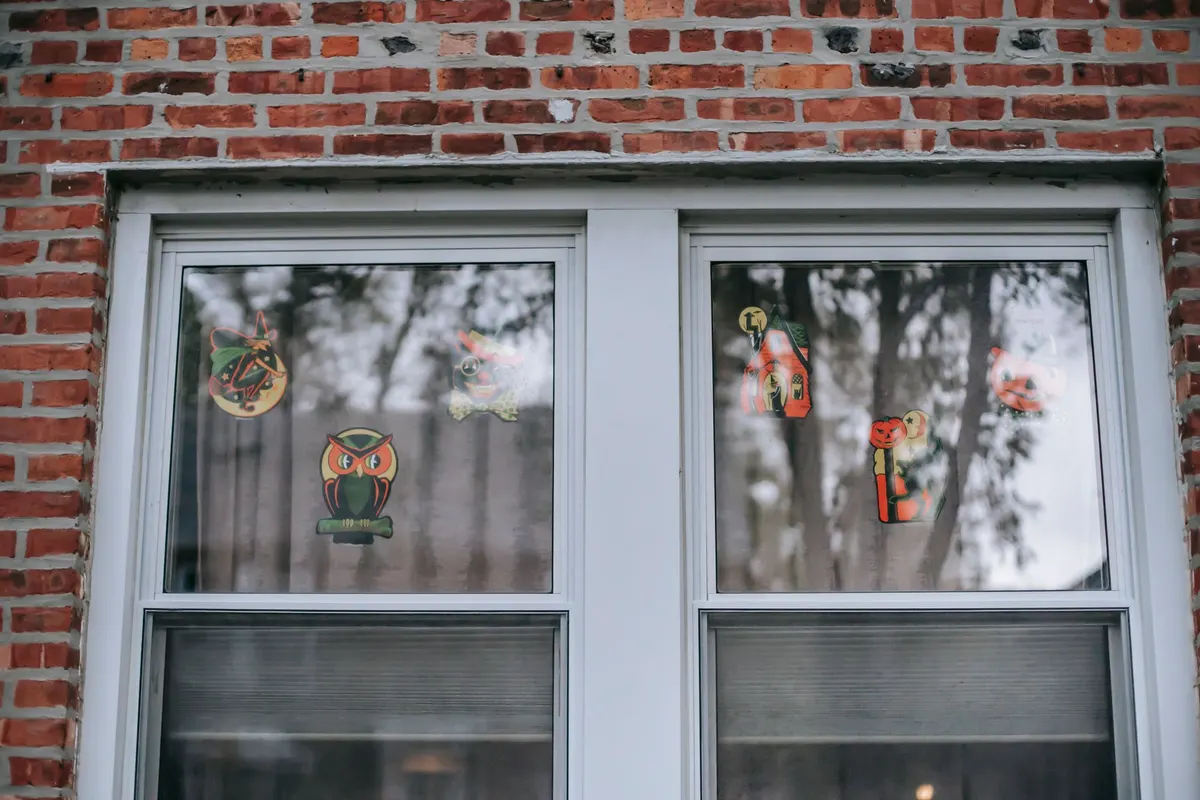
Pre-printed cutouts and cling decals are the lowest-effort way to decorate a window. The house pictured has six of them on the upper glass: a witch on a broom, an owl, a cat in an orange hat, a haunted house and a couple of pumpkins. Mixed together in orange, black and green, they look like a little storybook scene.
Cling decals stay put without adhesive, so they are good for rentals. Press them on clean, dry glass and smooth out the bubbles with a card. Keep them in the top half if you want to leave the bottom clear for blinds or a view.
4. Tape a black paper haunted house skyline to the glass
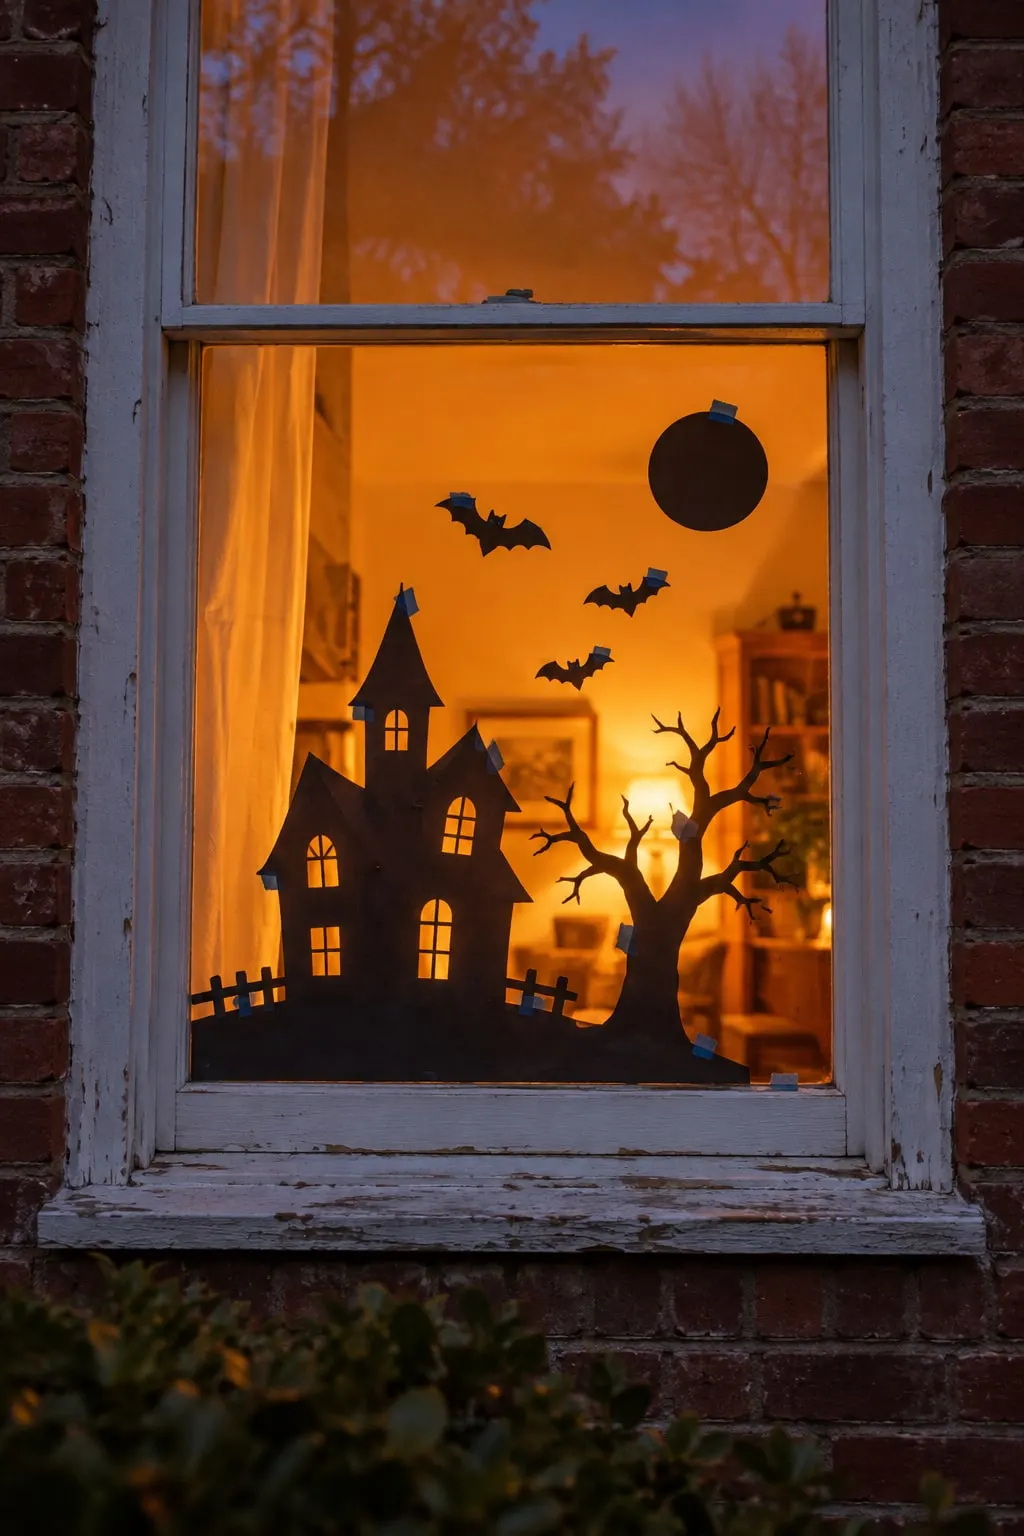
A silhouette skyline is dramatic and costs almost nothing. Cut a haunted house with five window openings, a bare tree, a few bats and a short run of fence sections from black cardstock. Tape them to the lower glass so the house sits on the bottom rail.
Put a lamp with an orange or warm bulb behind the glass, and from the street the shapes will look sharp and black against a glowing background.
Use painter's tape or removable tape in small loops behind each piece. It lifts off glass cleanly.
5. Back black witch and cat silhouettes with orange fabric
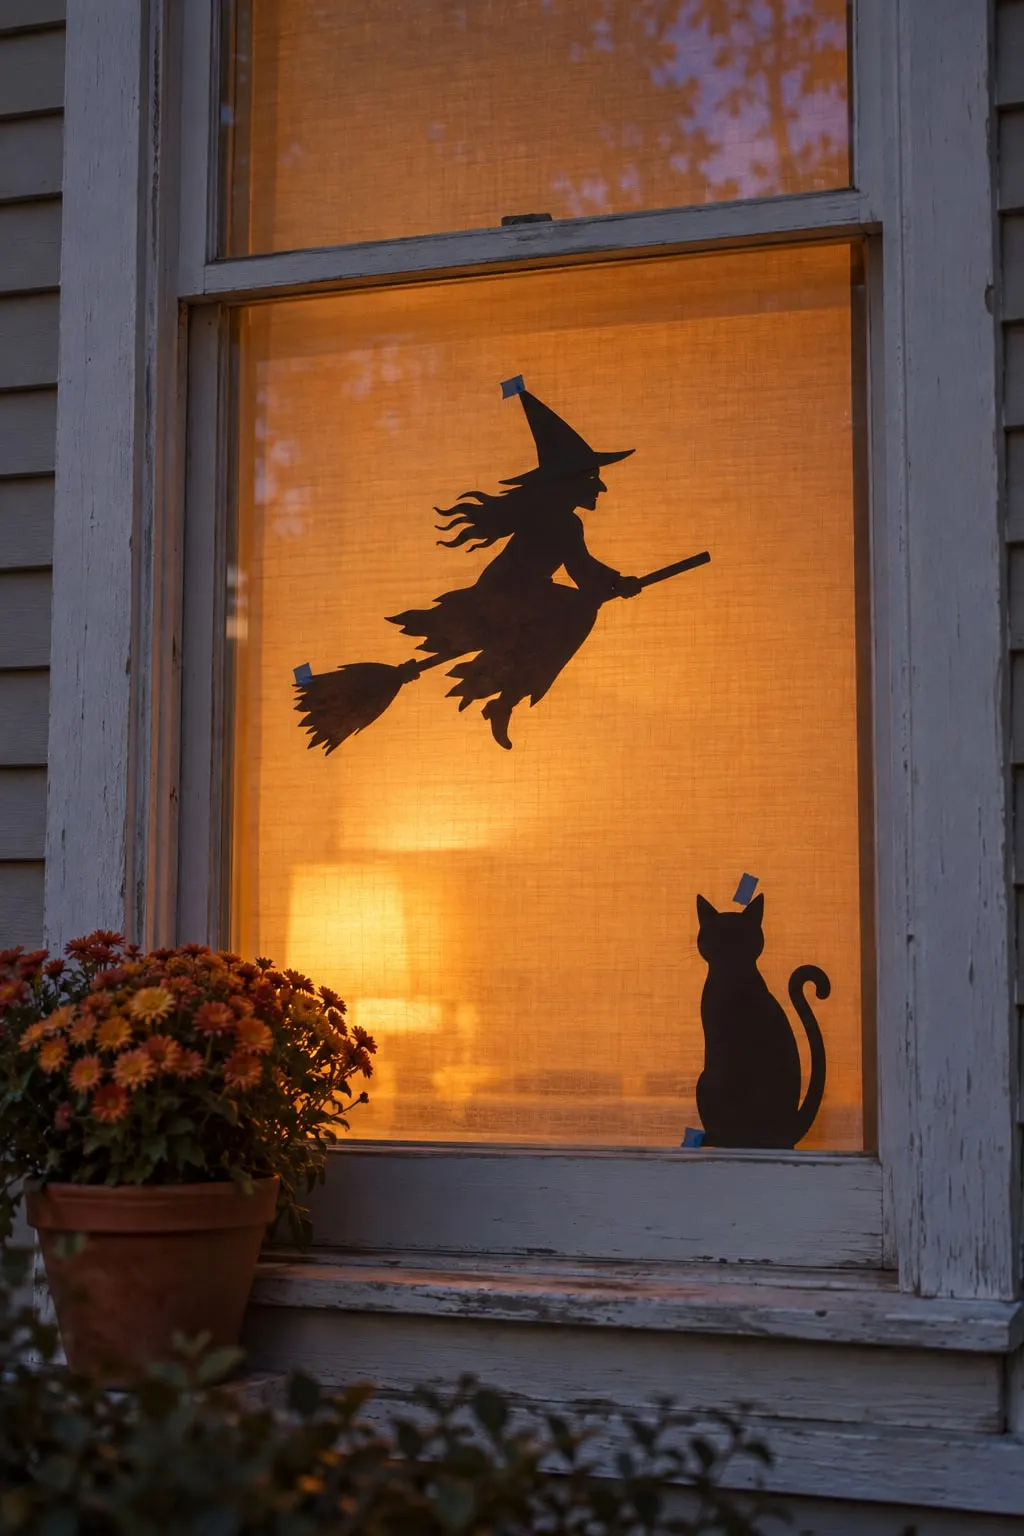
Cut a witch on a broom and a sitting cat from black paper, tape them to the lower pane with four small pieces of blue painter's tape, and hang an orange cloth or sheer curtain behind the glass. When a lamp is on behind the fabric, the black shapes glow in front of an orange sky.
Orange tissue paper taped over the glass works too, and so does an orange pillowcase held with a tension rod. Keep the fabric at least a few inches from the bulb and use an LED.
6. Cut glowing eyes into black fabric
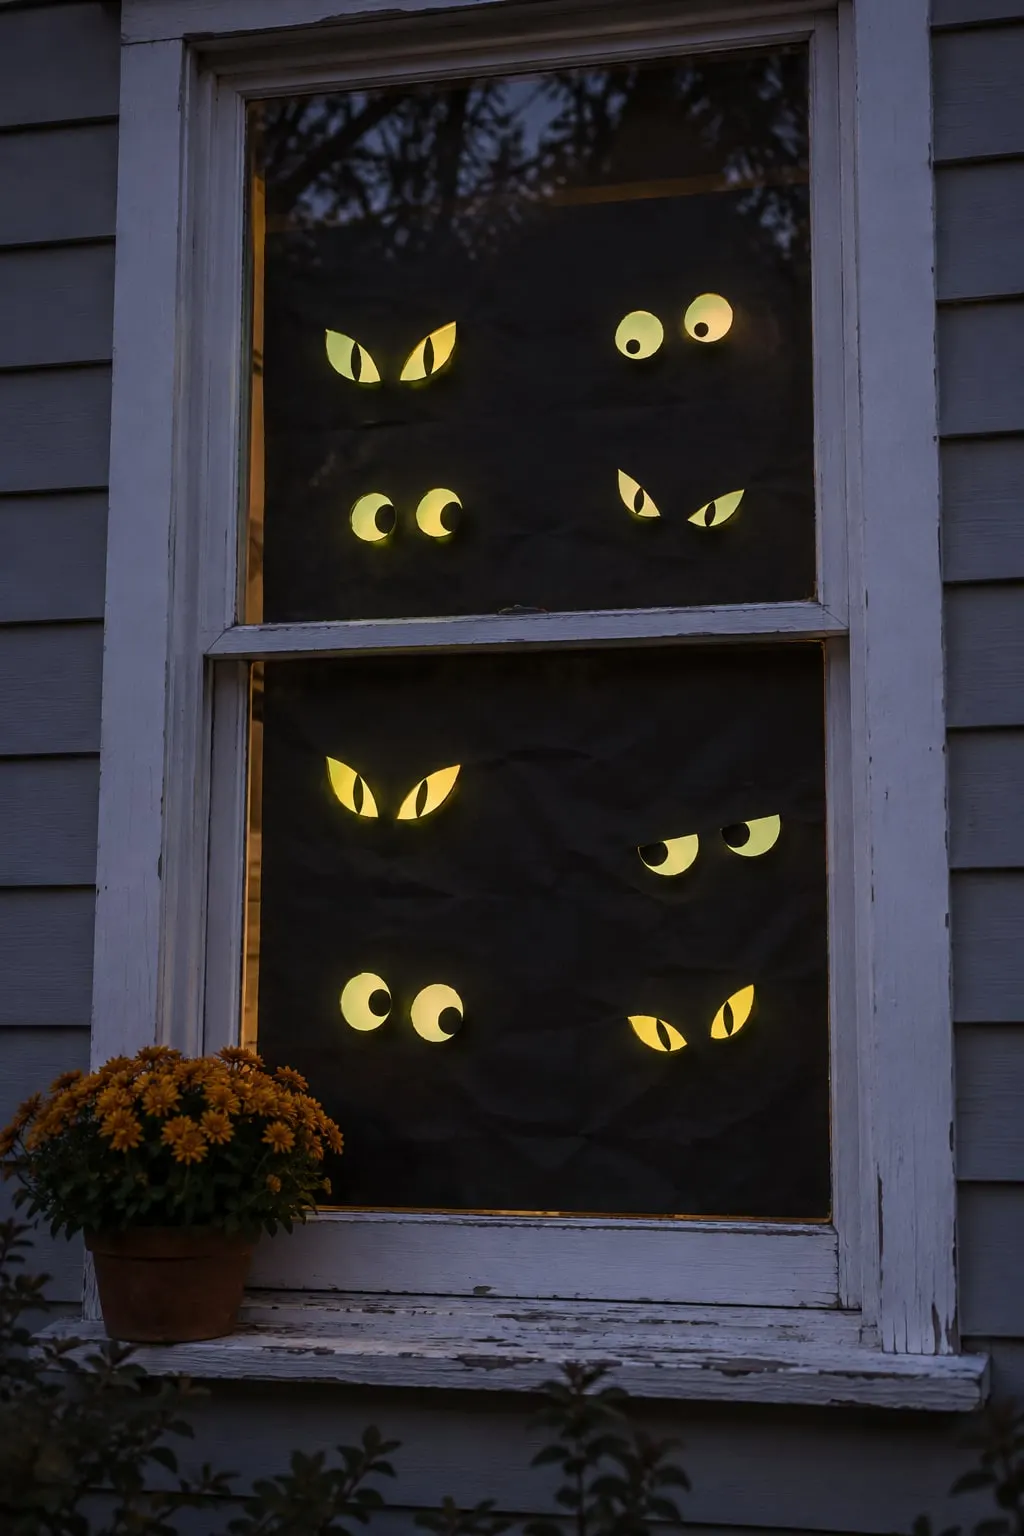
This one is easy to do and looks great from outside at night. Cover the glass with black fabric or poster board, then cut pairs of oval eyes with small black pupils out of yellow paper or a yellow gel. Eight pairs, as in the picture, make a window feel full of creatures.
Put a lamp behind the fabric so the yellow glows. Keep the pairs at different heights and angles, and leave a little extra space between them so each pair reads as a creature rather than a pattern.
7. Stick on black monster and spider decals
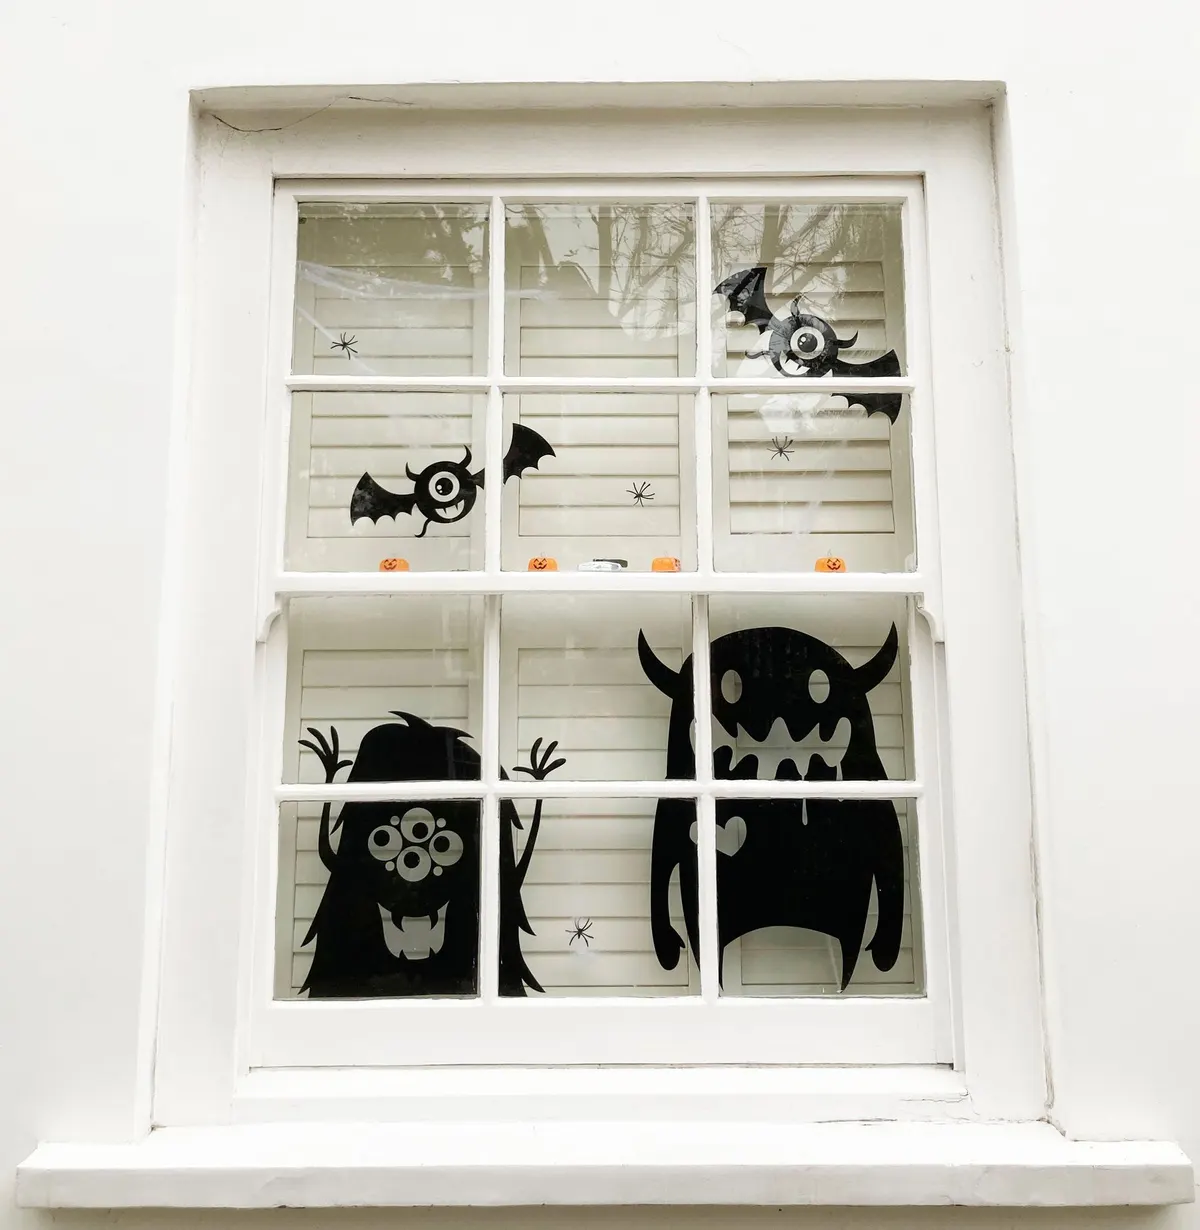
Glass decals do the work of a painting without the mess. The twelve-pane window pictured carries black monsters, a few winged one-eyed creatures and four small spiders, all spread across the panes so each pane gets one or two shapes. Four small pumpkins sit along the middle rail.
Spread decals over several panes instead of clustering them. Stand back from the window after the first few and check how they read from the street, then fill gaps. Black decals look best on a light interior or when a lamp is on at dusk.
8. Stretch cobweb across the panes and add spiders
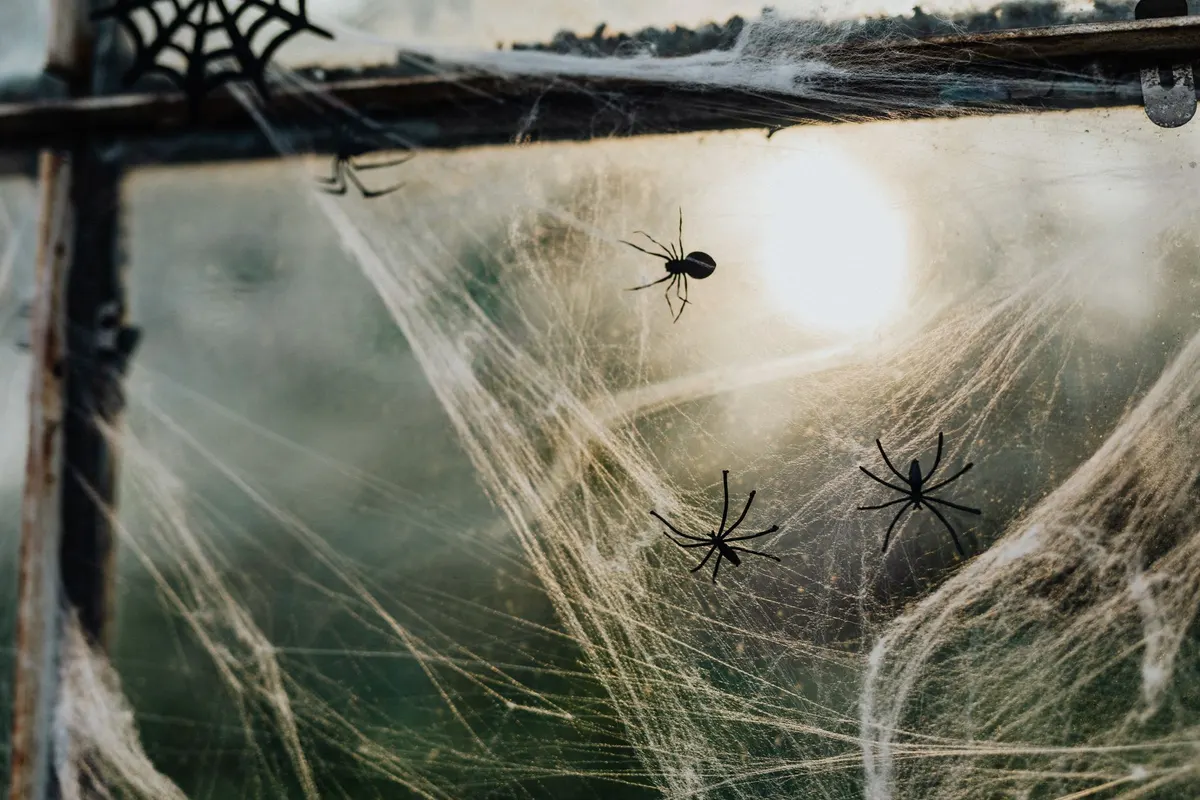
Stretchy cobweb is cheap and fast. Pull a wad apart until it is thin and wispy, then press it into the corners of each pane and stretch it across the middle. Add three or four black plastic spiders on the strands and one on the glass below.
The photo shows this on an old wood frame. White webs read best against dark glass or a dark room behind, so close the curtain if the glass looks too bright. Tuck the ends behind the frame or under tape so it does not droop.
Keep cobweb away from candles, bulbs and heaters, since it burns quickly.
9. Hang plastic skeletons from twine
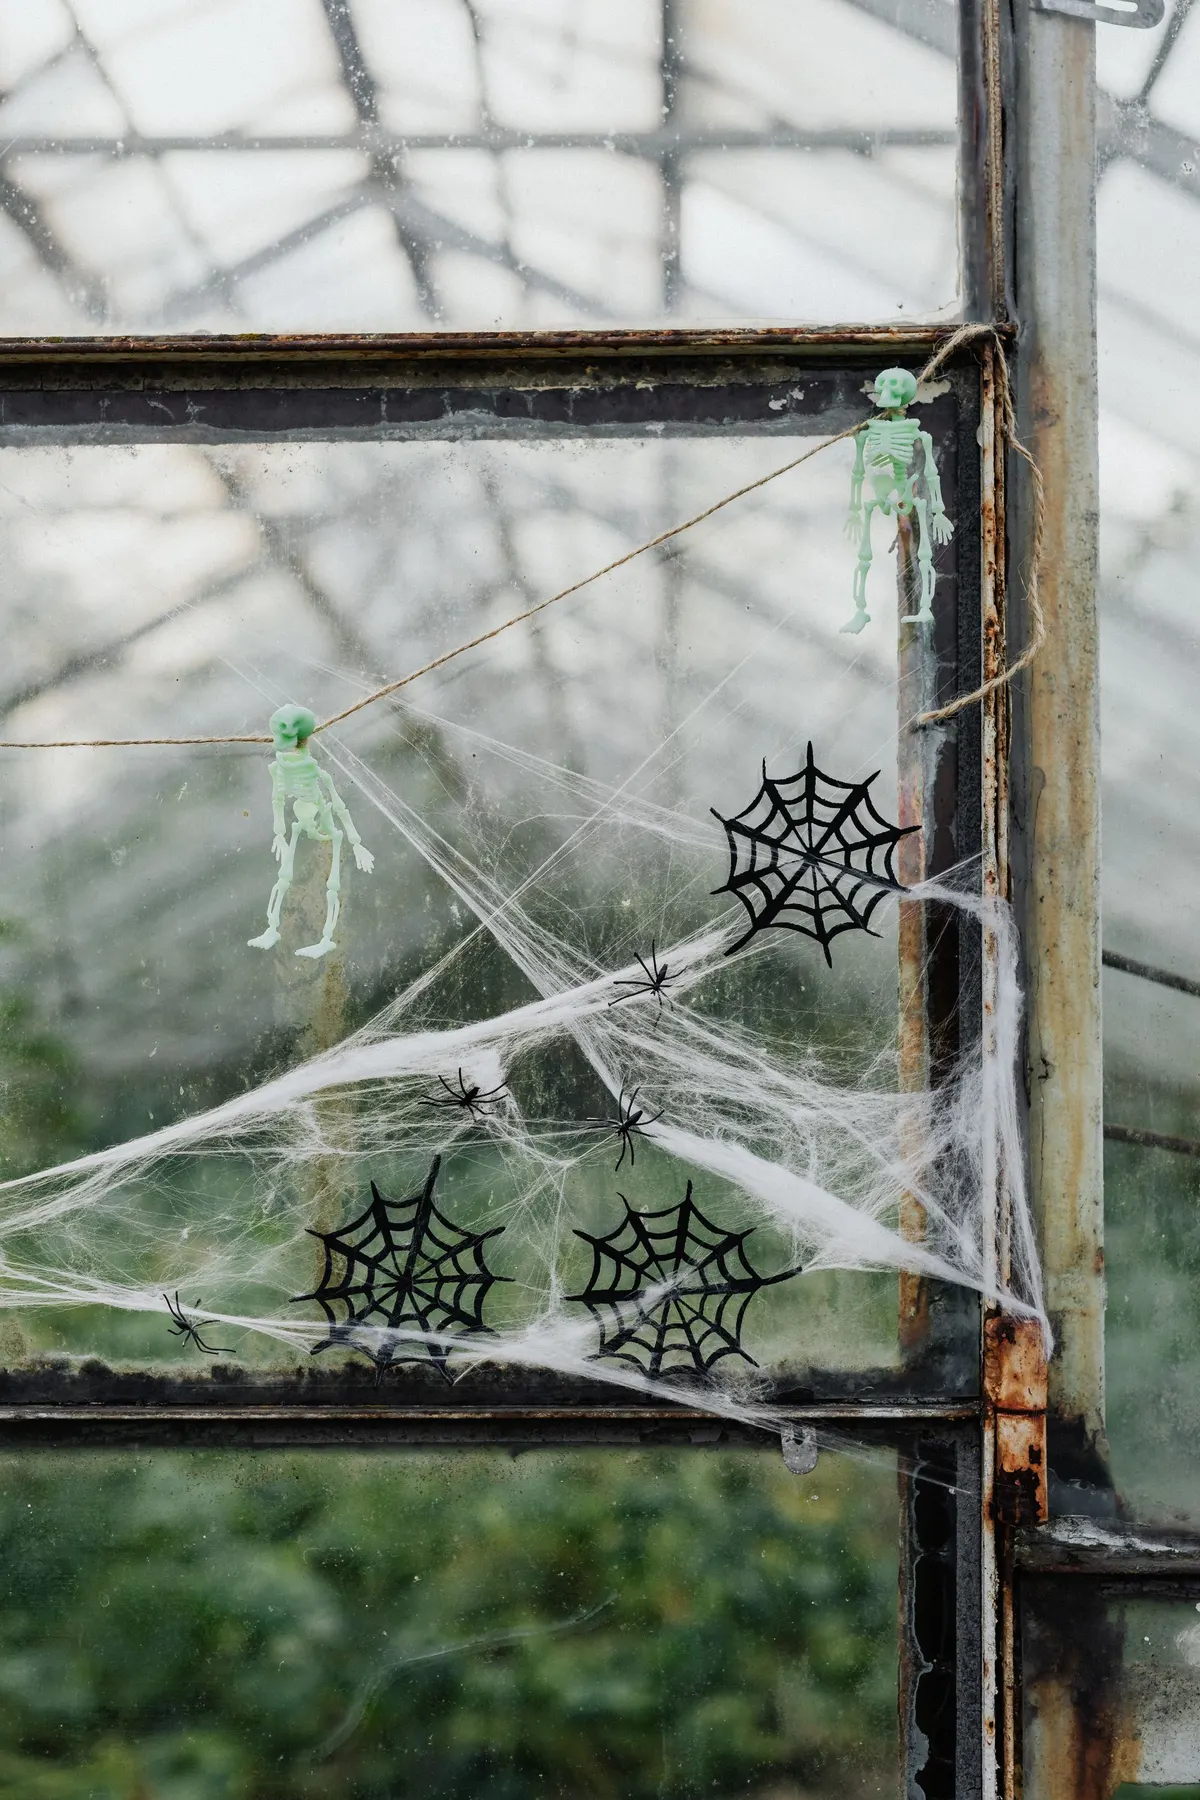
Two pale plastic skeletons dangling on brown twine in front of a webbed window are all it takes. Tie twine around the neck or arms, then tape the other end to the top of the frame, or loop it over a tension rod or a removable hook.
Hang them at different lengths, one about a foot below the other, so they look like they are climbing. Add cobweb and three or four spiders around them to fill the gap between figures.
On a greenhouse or old window frame, tie directly to the metal. On a rental window, use a removable hook or a strip of painter's tape across the top.
10. Hang a witch hat in the window
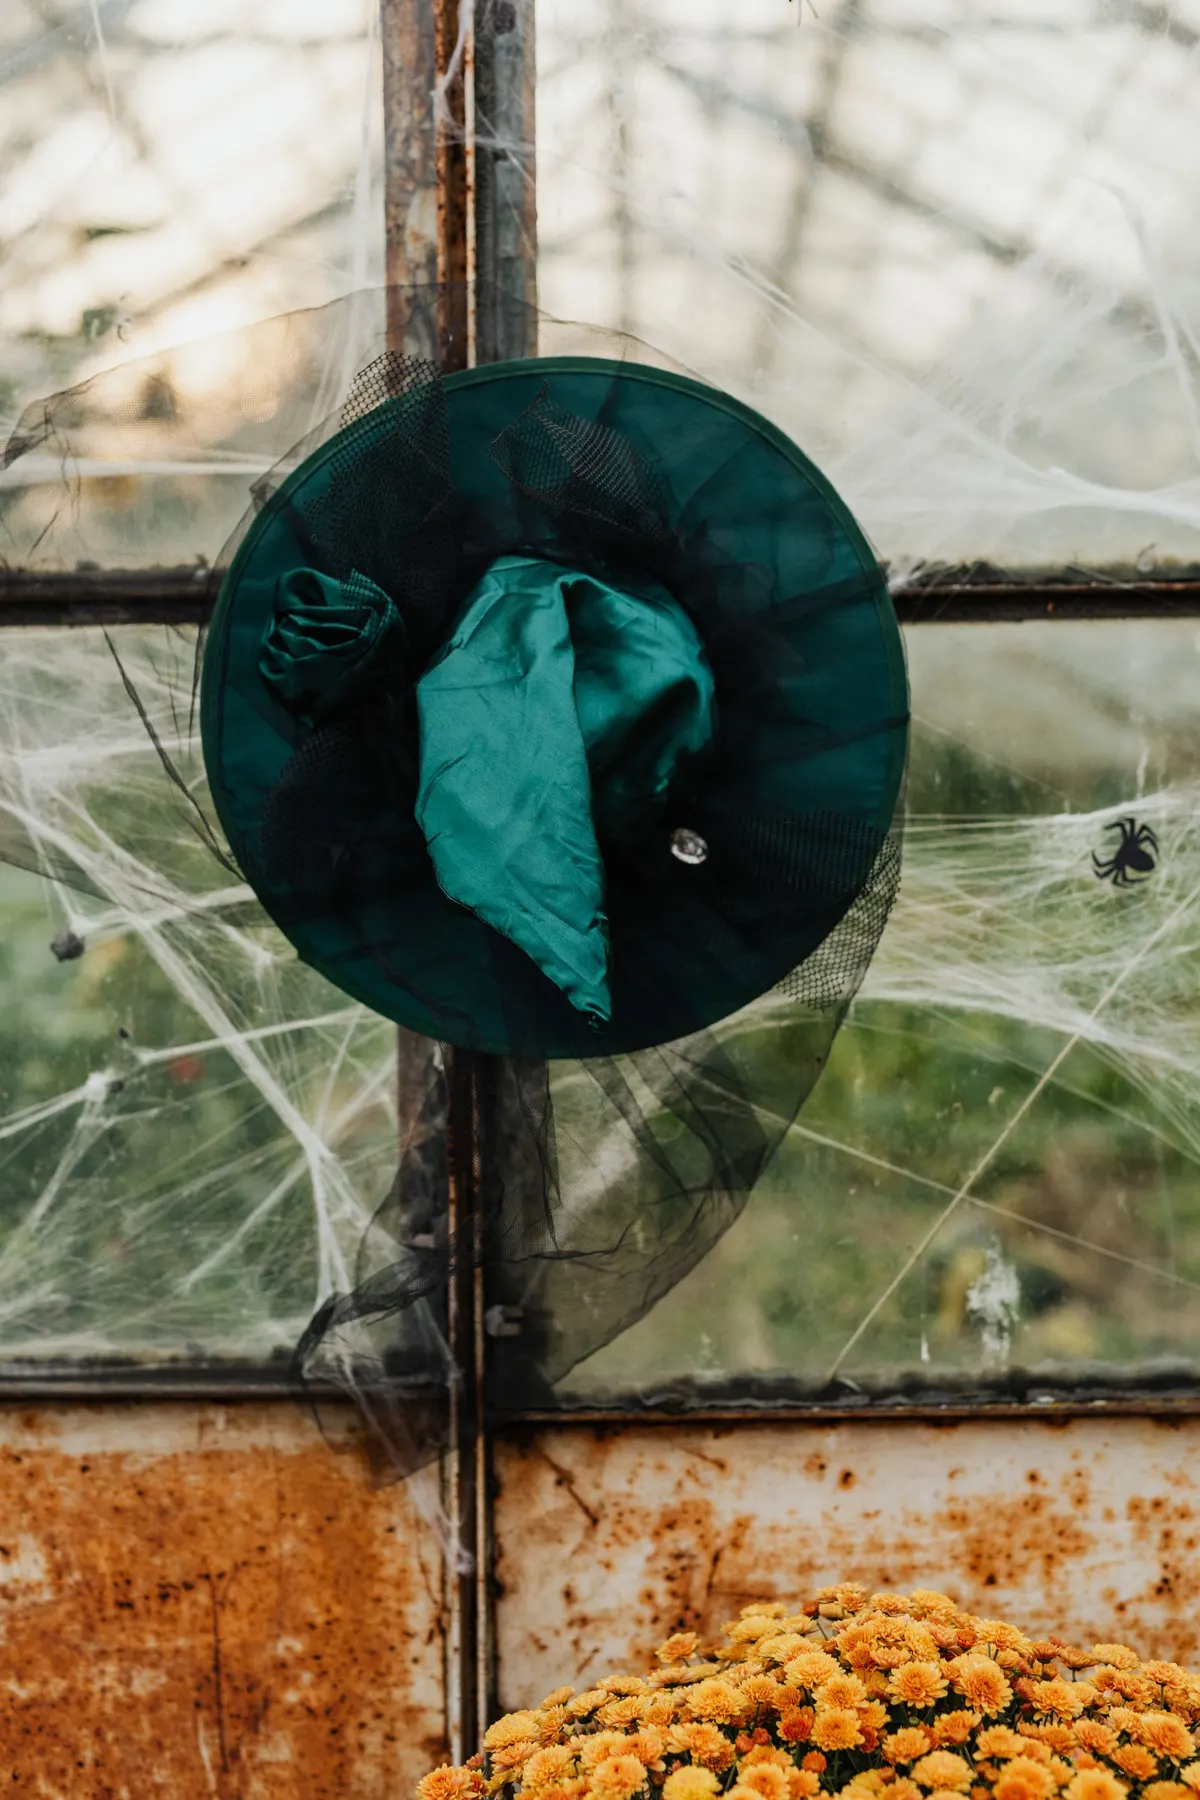
A single witch hat is a good idea if you do not want to commit to a full display. Hang one on a hook or loop of string at the top of a pane, then add a little cobweb and one black spider on the glass next to it.
The hat pictured is teal-green with black mesh trim, which is a nice change from classic black.
If the hat is flimsy, stuff it with a ball of tissue so it holds its shape and does not flop against the glass.
11. Hang paper bats on thread
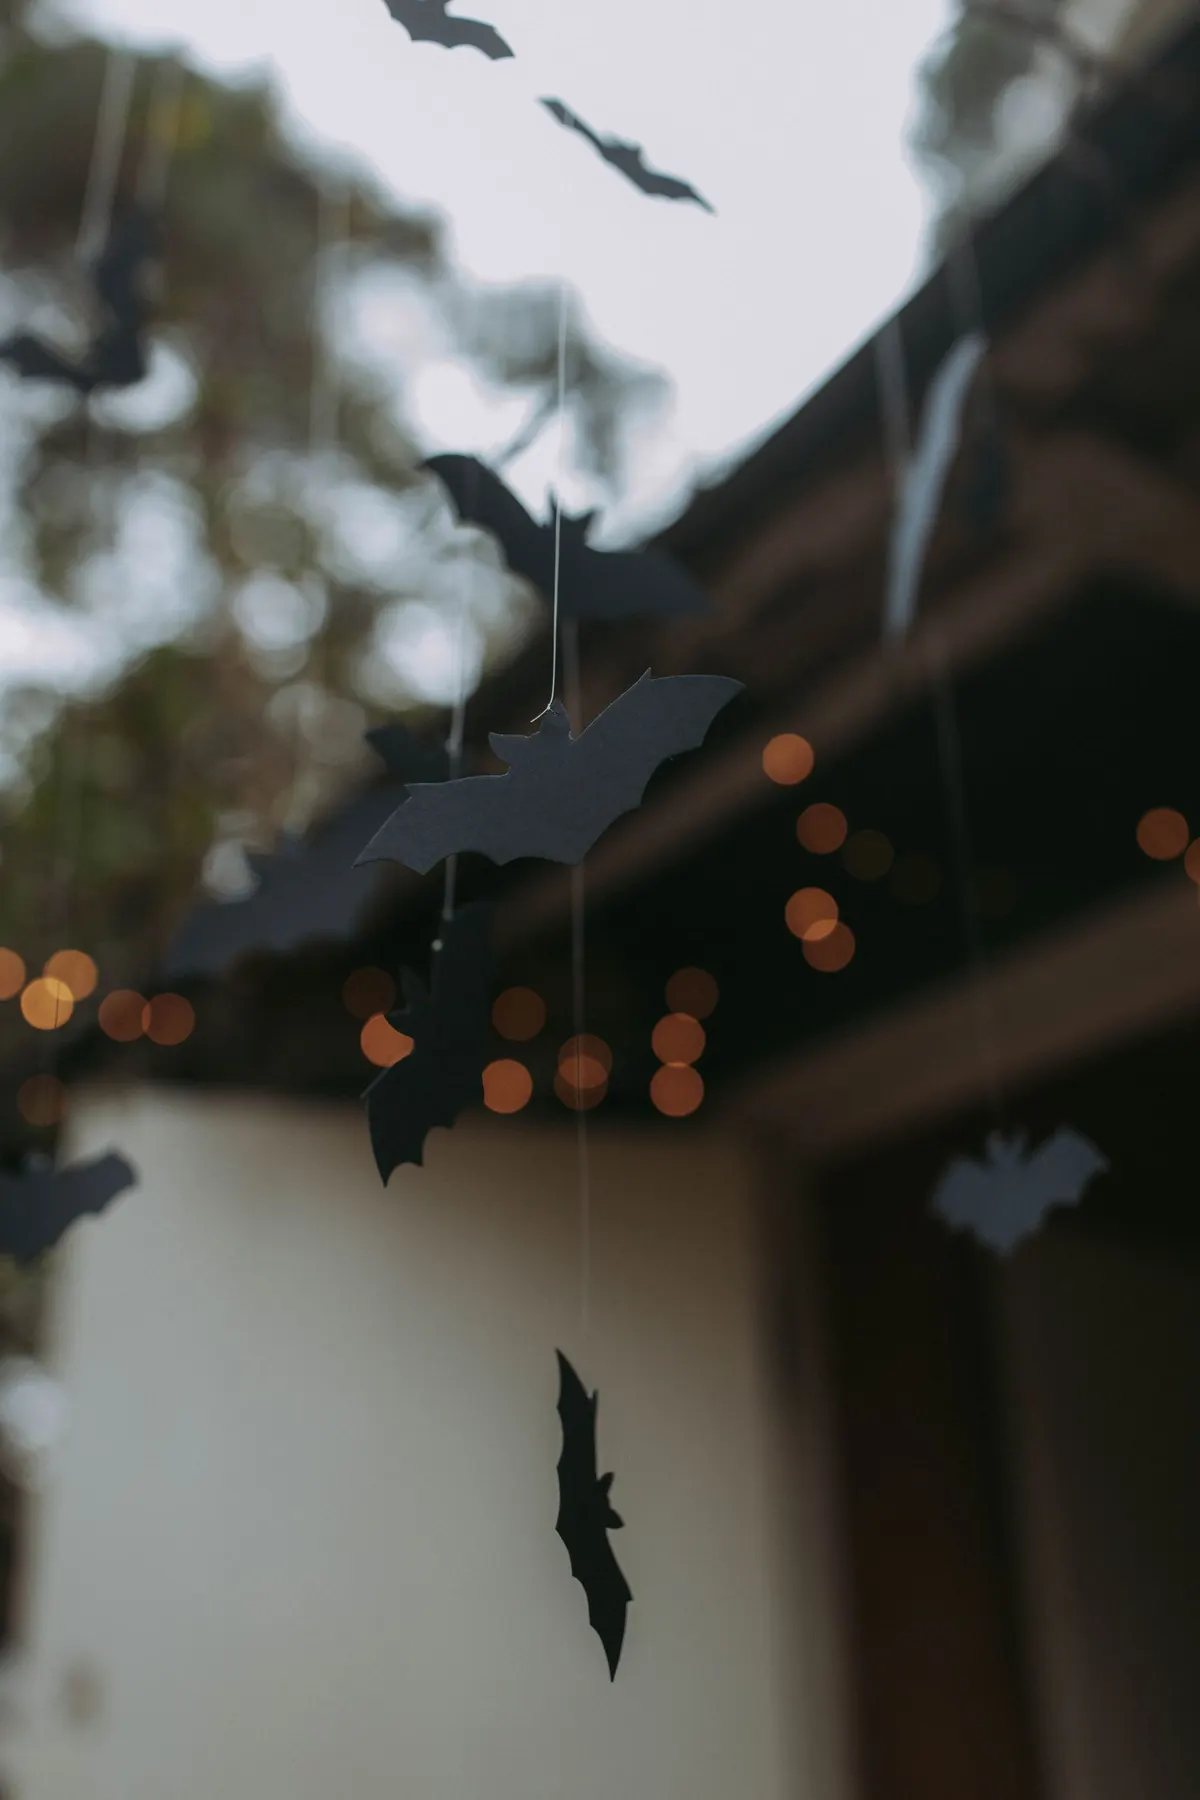
Hanging bats is the cheapest of all Halloween window ideas. Cut ten or so bat shapes from black cardstock, in two or three sizes, and tape each to a thin thread in different lengths. Hang them from the top of the window frame or from a tension rod.
Hung in front of a lit window, they cast soft shadows and look like they are in motion when a draft moves them. Fold the wings slightly upward along the center line so each bat has a little shape.
The picture shows bats outdoors against string lights, and the same effect works on the inside of any window.
12. Hang a witch-and-cat silhouette ornament
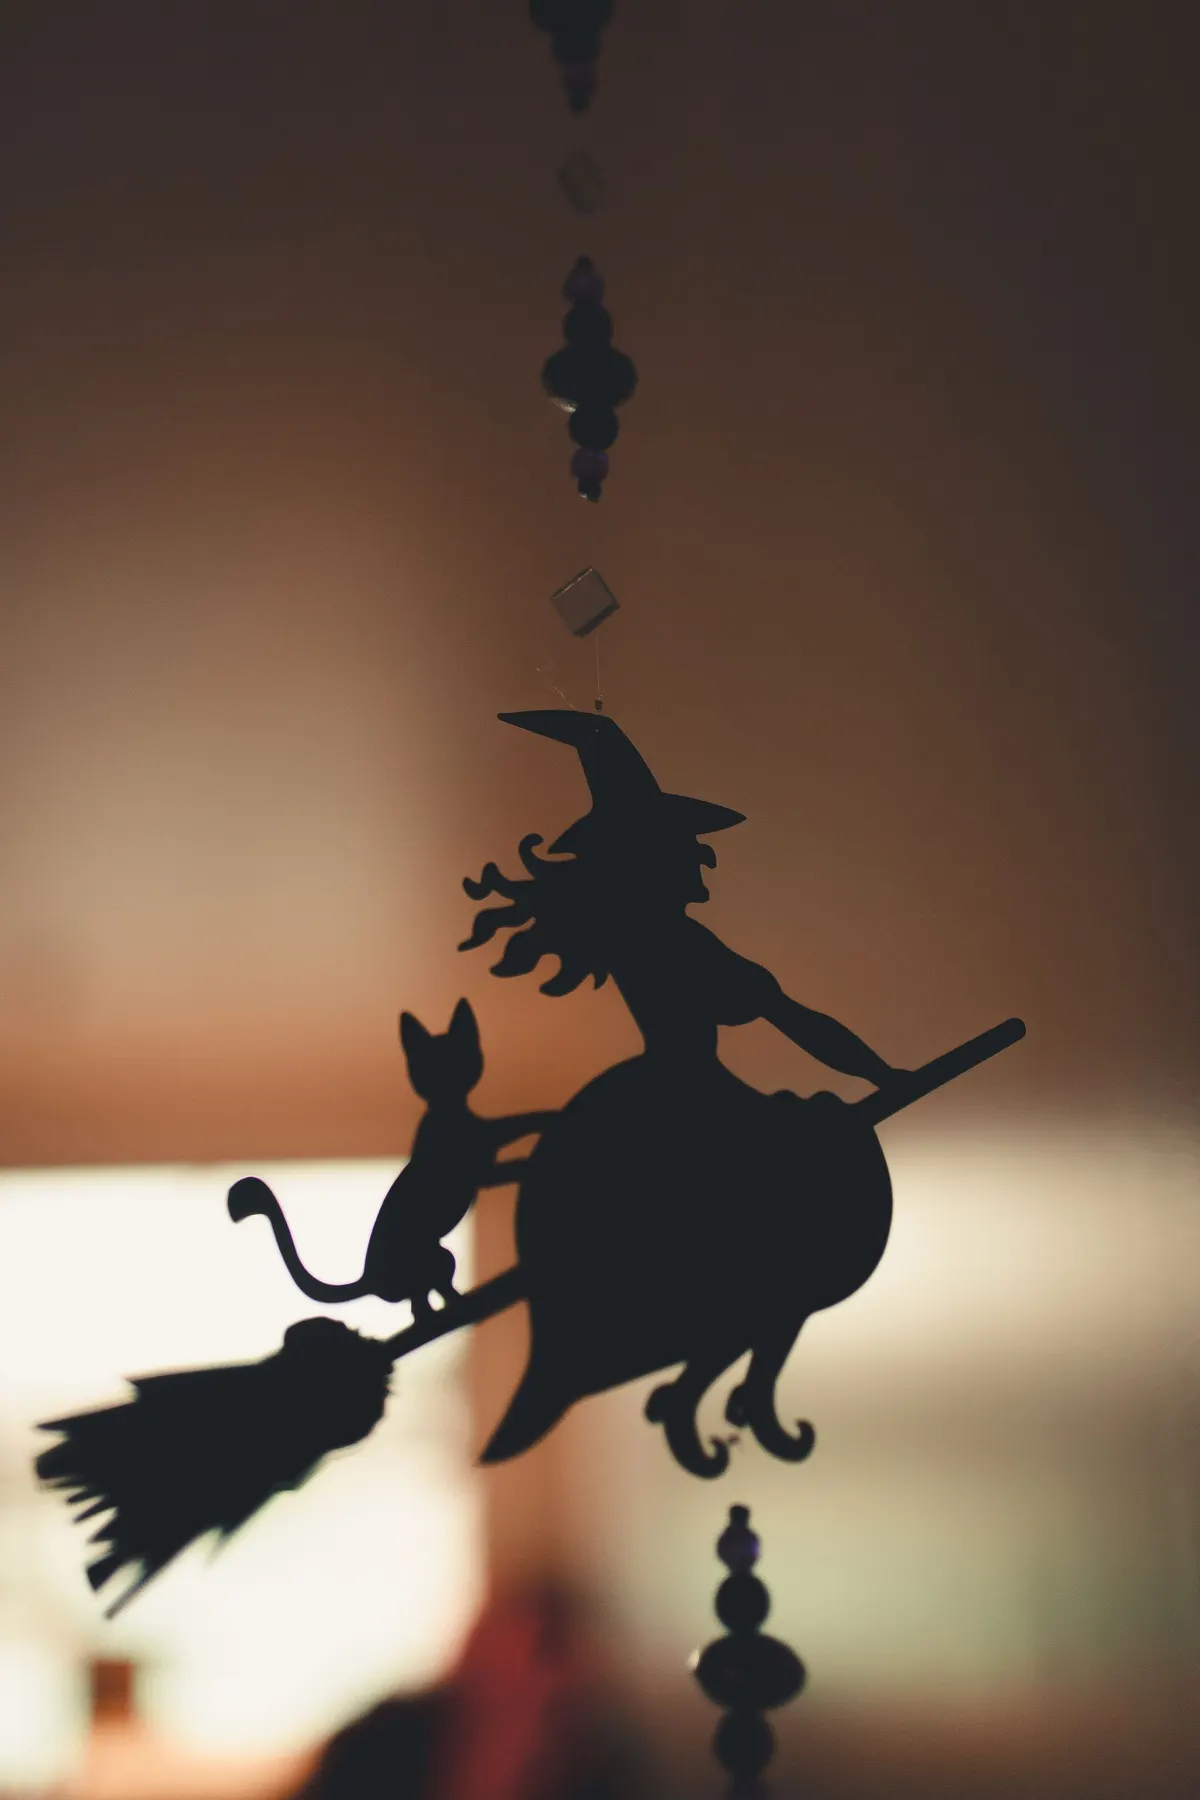
One detailed silhouette can carry a whole window. This ornament shows a pointed-hat witch and a cat sharing a broom, hung on a thread with a few dark beads. Cut something like it from black cardstock, or from a thin sheet of black craft foam, and hang it at eye level in the center of a pane.
Hang it a few inches from the glass so the light behind it casts a soft shadow.
Because it is a single piece, it works well on a small window, a door glass panel or a kitchen window above the sink.
13. Hang cheesecloth ghosts in front of the glass
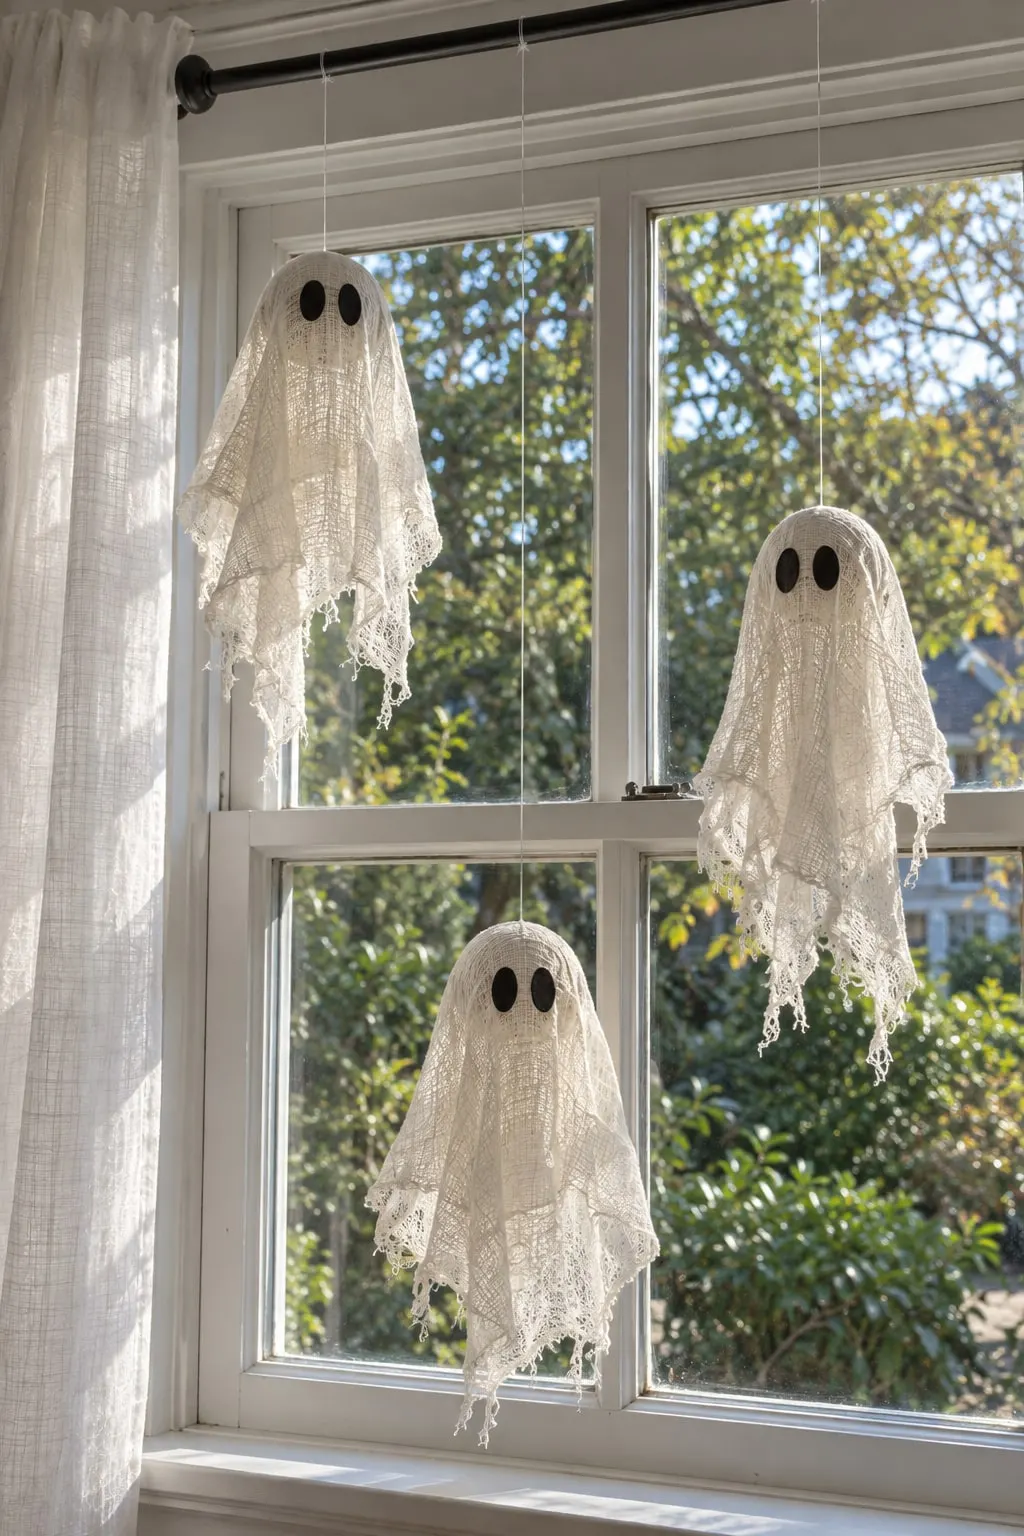
Three cheesecloth ghosts hung at different heights in front of a four-pane window look good in daylight and glow in a lit room. Drape a piece of cheesecloth over a ball of foil or a balloon, stiffen it with a mix of equal parts white glue and water, let it dry, then pop the balloon and add two black oval eyes.
Hang each ghost on a string from a hook or a tension rod, and keep them about 8 to 10 inches apart. Pair them with a sheer white curtain so they seem to float.
14. String paper pumpkin lanterns across the top
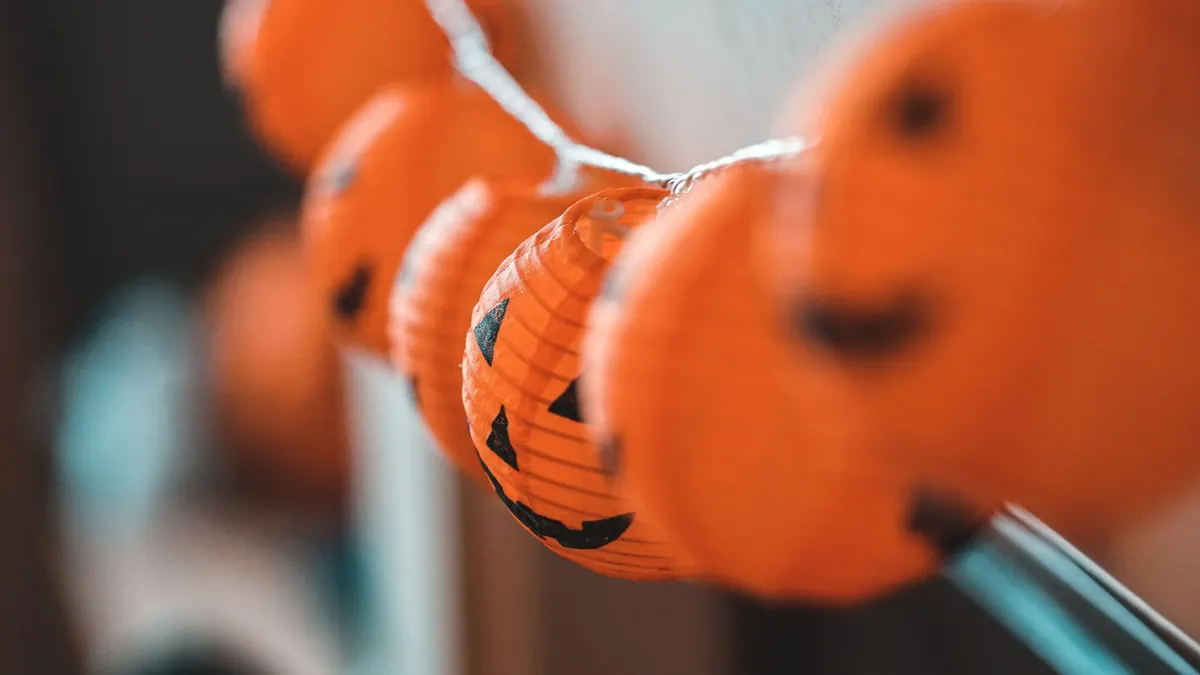
Paper lanterns give a window a warm, party-like feel. Seven orange ribbed lanterns with black jack-o'-lantern faces hang along a twisted wire in the photo, and a row like that fills the top of a wide window.
Hang a line of them from a tension rod or a strip of removable hooks. Space them a hand-width apart and let them hang at slightly different heights.
Use a battery LED light inside each one, since a real bulb or flame can scorch the paper.
15. Set one glowing carved pumpkin on the sill
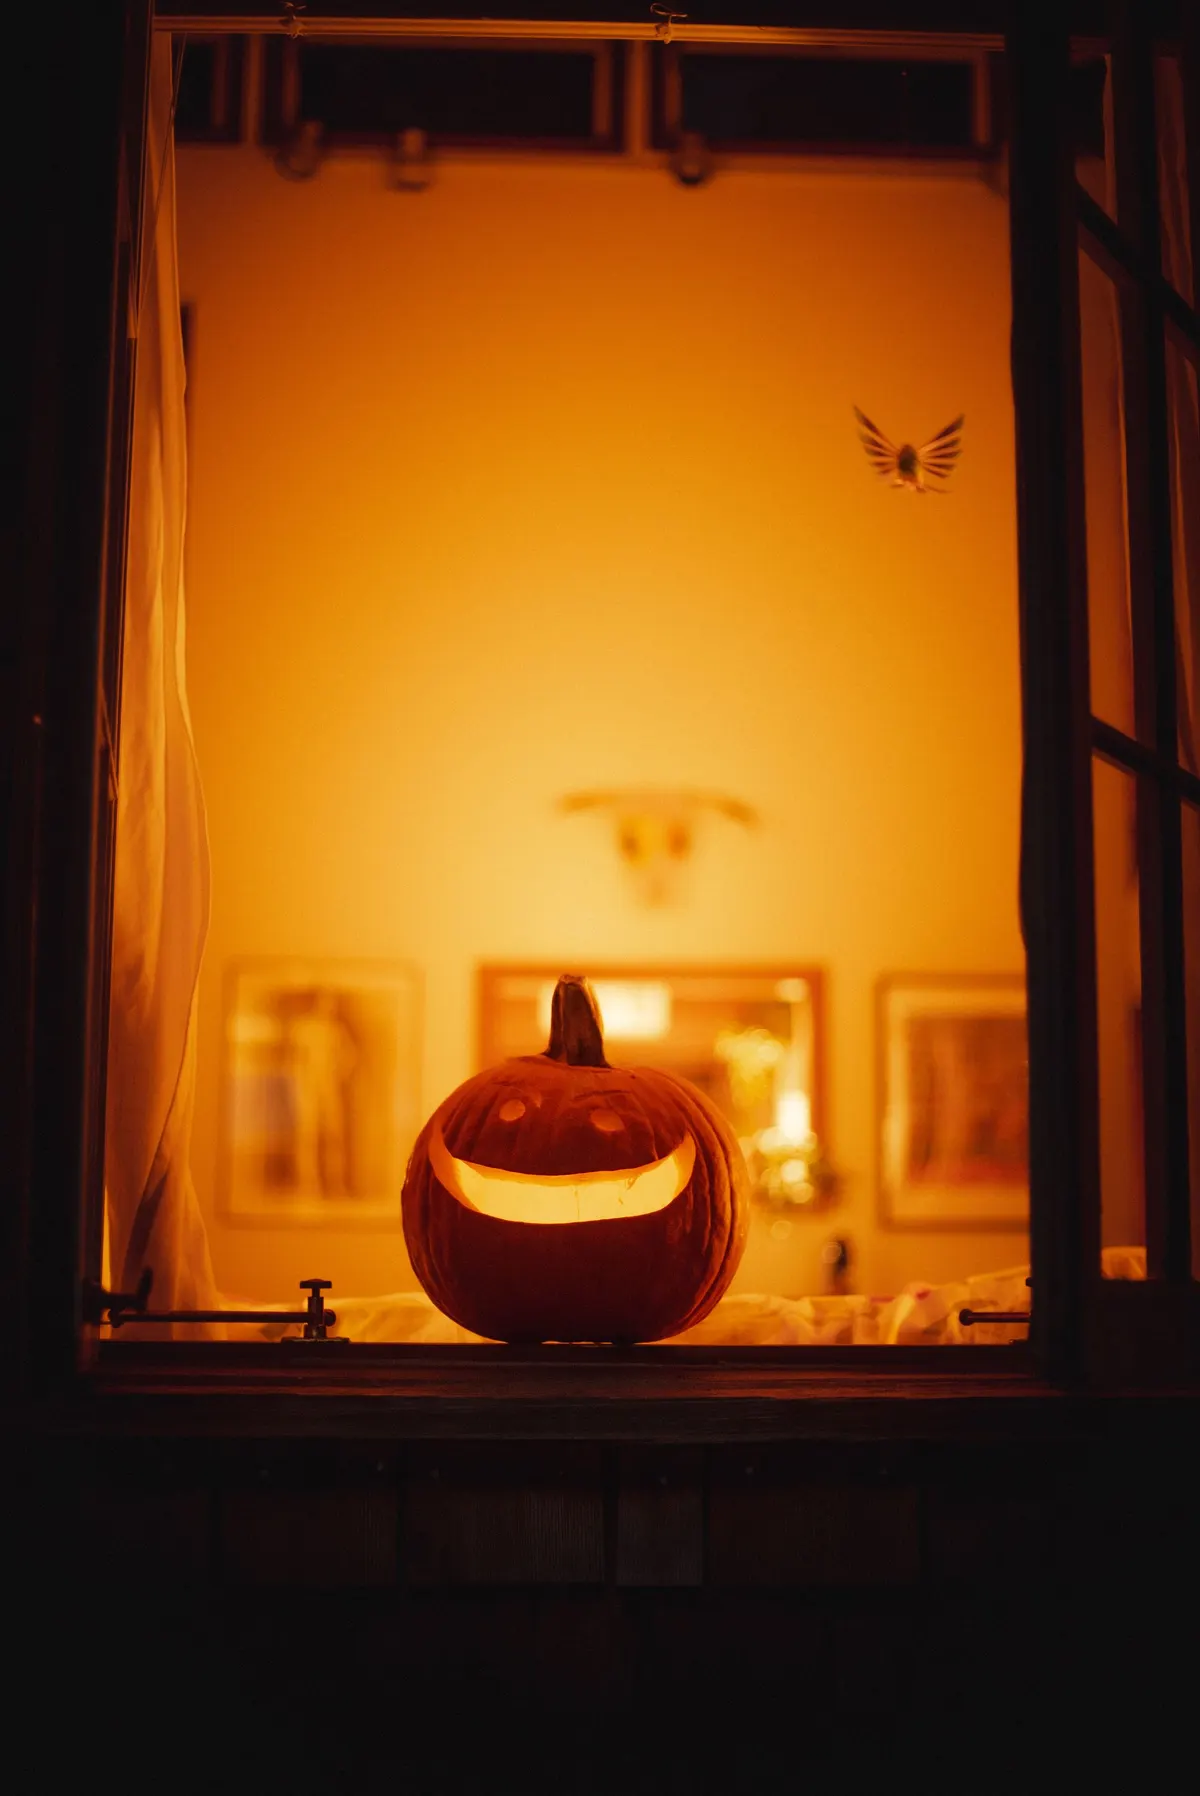
A single carved pumpkin lit from inside, sitting on a dark wooden sill, is all you need for a window that looks good from the street. The one in the picture has two eyes and a wide smile, with warm light spilling onto the wood below.
Carve it on the day you plan to show it, because carved pumpkins soften within a few days. Use a flameless LED candle so the pumpkin lasts and you can leave it on without worrying about the curtains.
For more carving designs, see our carved pumpkin ideas.
16. Line up three pumpkins on the sill, one carved
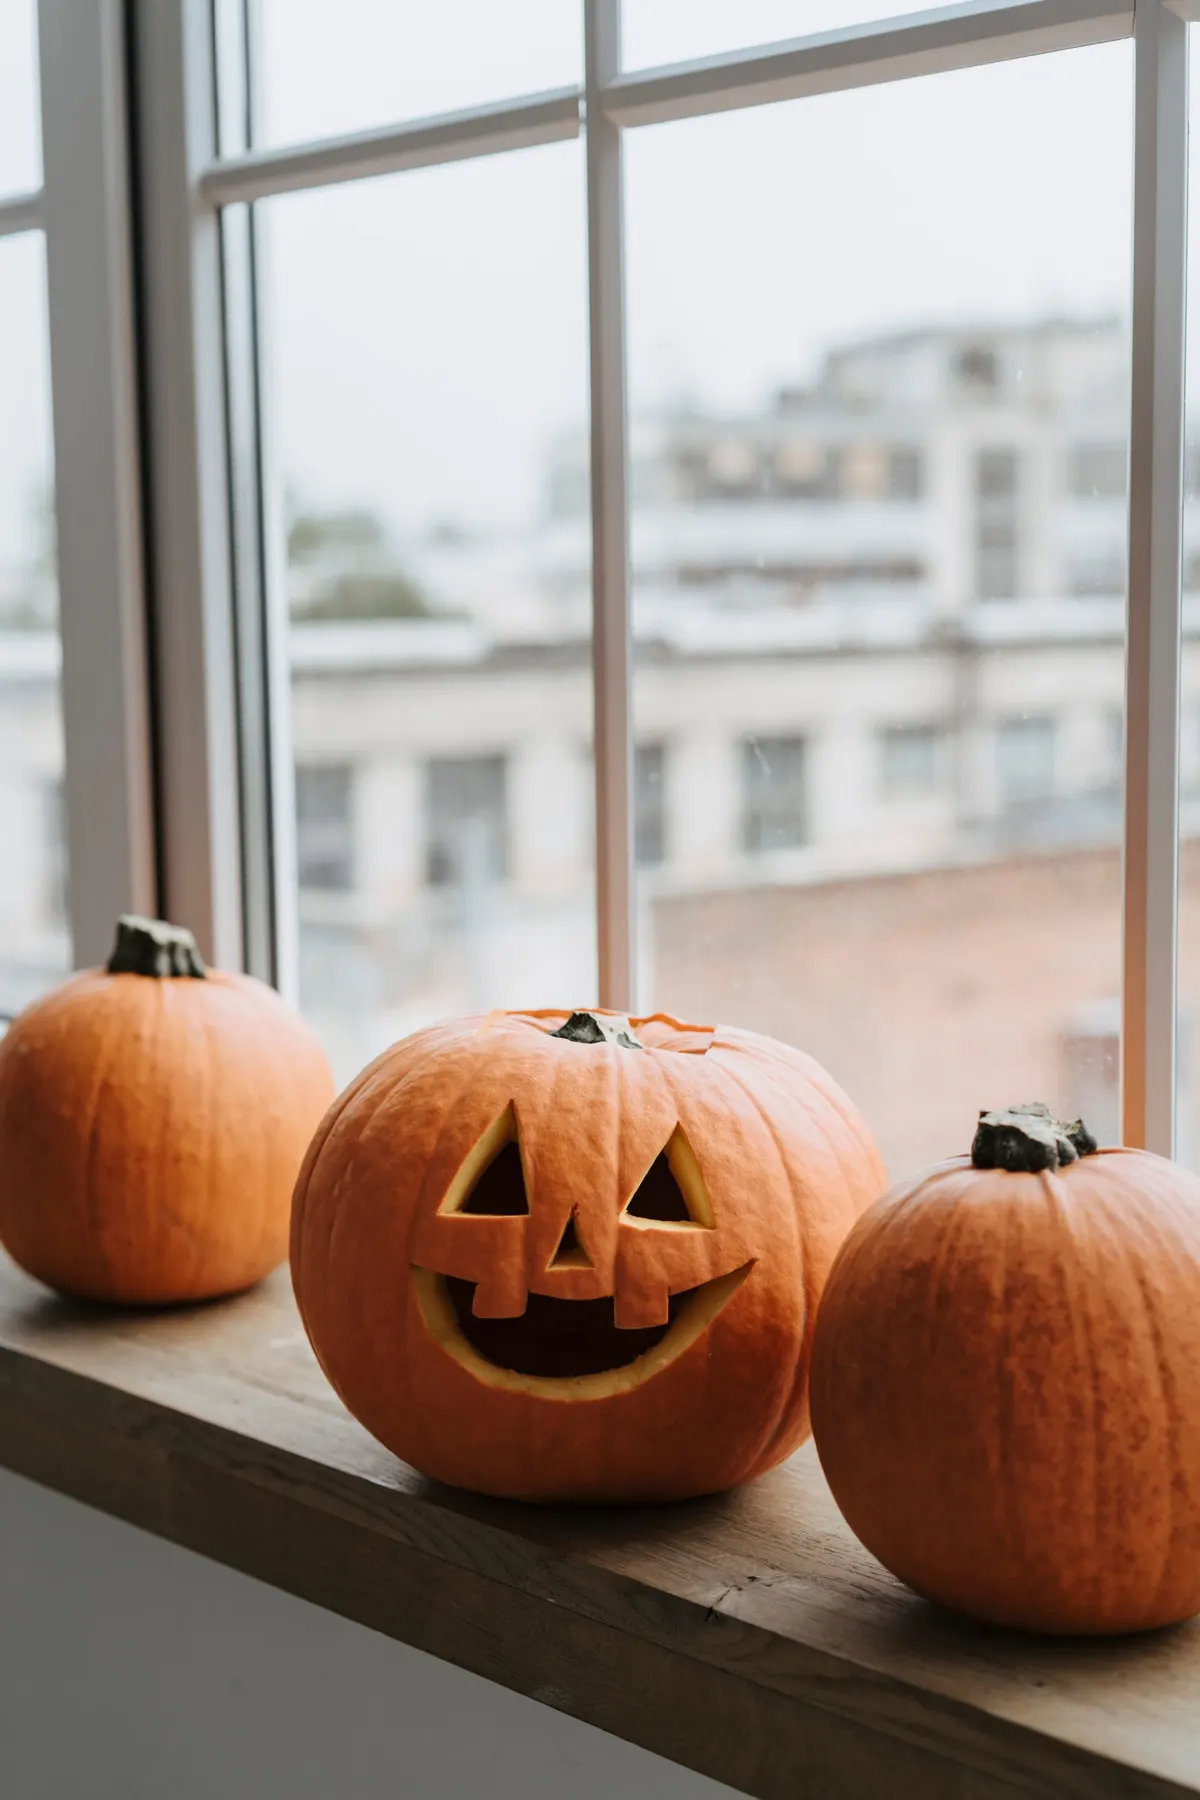
A sill row of three pumpkins looks balanced, and swapping one for a jack-o'-lantern gives it a focal point. The window pictured has two plain pumpkins and one carved in the middle, with the face looking out.
Pick pumpkins in slightly different sizes and put the biggest in the center. A flat sill needs nothing more, but a narrow ledge needs a small tray or a strip of non-slip shelf liner so a pumpkin cannot roll.
No carving? Paint the faces with a black marker or acrylic paint. Our no-carve pumpkin ideas cover more ways to get a face without a knife.
17. Add warm string lights outside the window
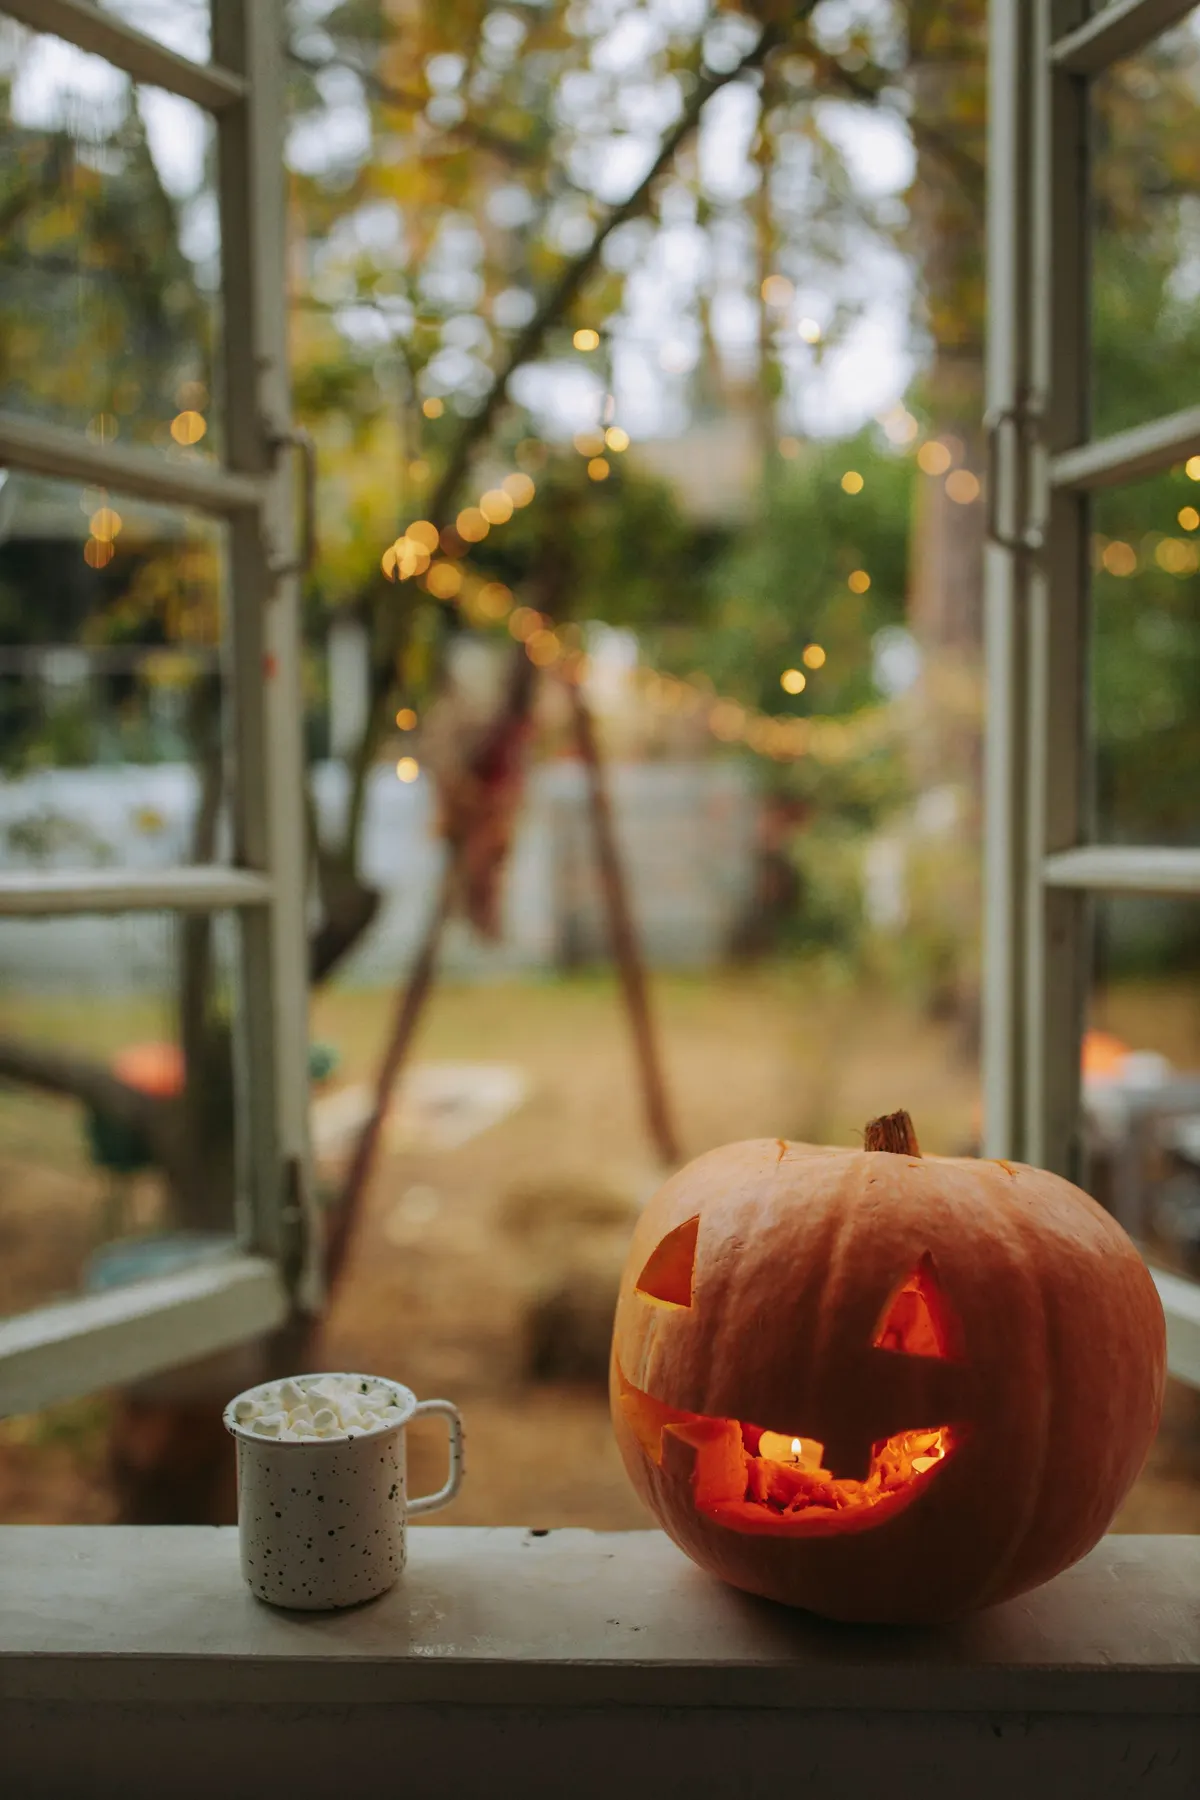
String lights draped along the frame make a pumpkin on the sill look like it is part of a scene. In the photo, a carved pumpkin with a candle inside sits next to a mug of marshmallows, and warm lights glow just beyond the open window.
Use warm white or orange LED lights, and tape them along the top and sides of the frame with clear tape or clips rather than nails. Outdoor-rated strings are needed on the outside of the glass.
For more outside setups, see our outdoor Halloween decorations.
18. Fill the window with shelves, gourds and a light string
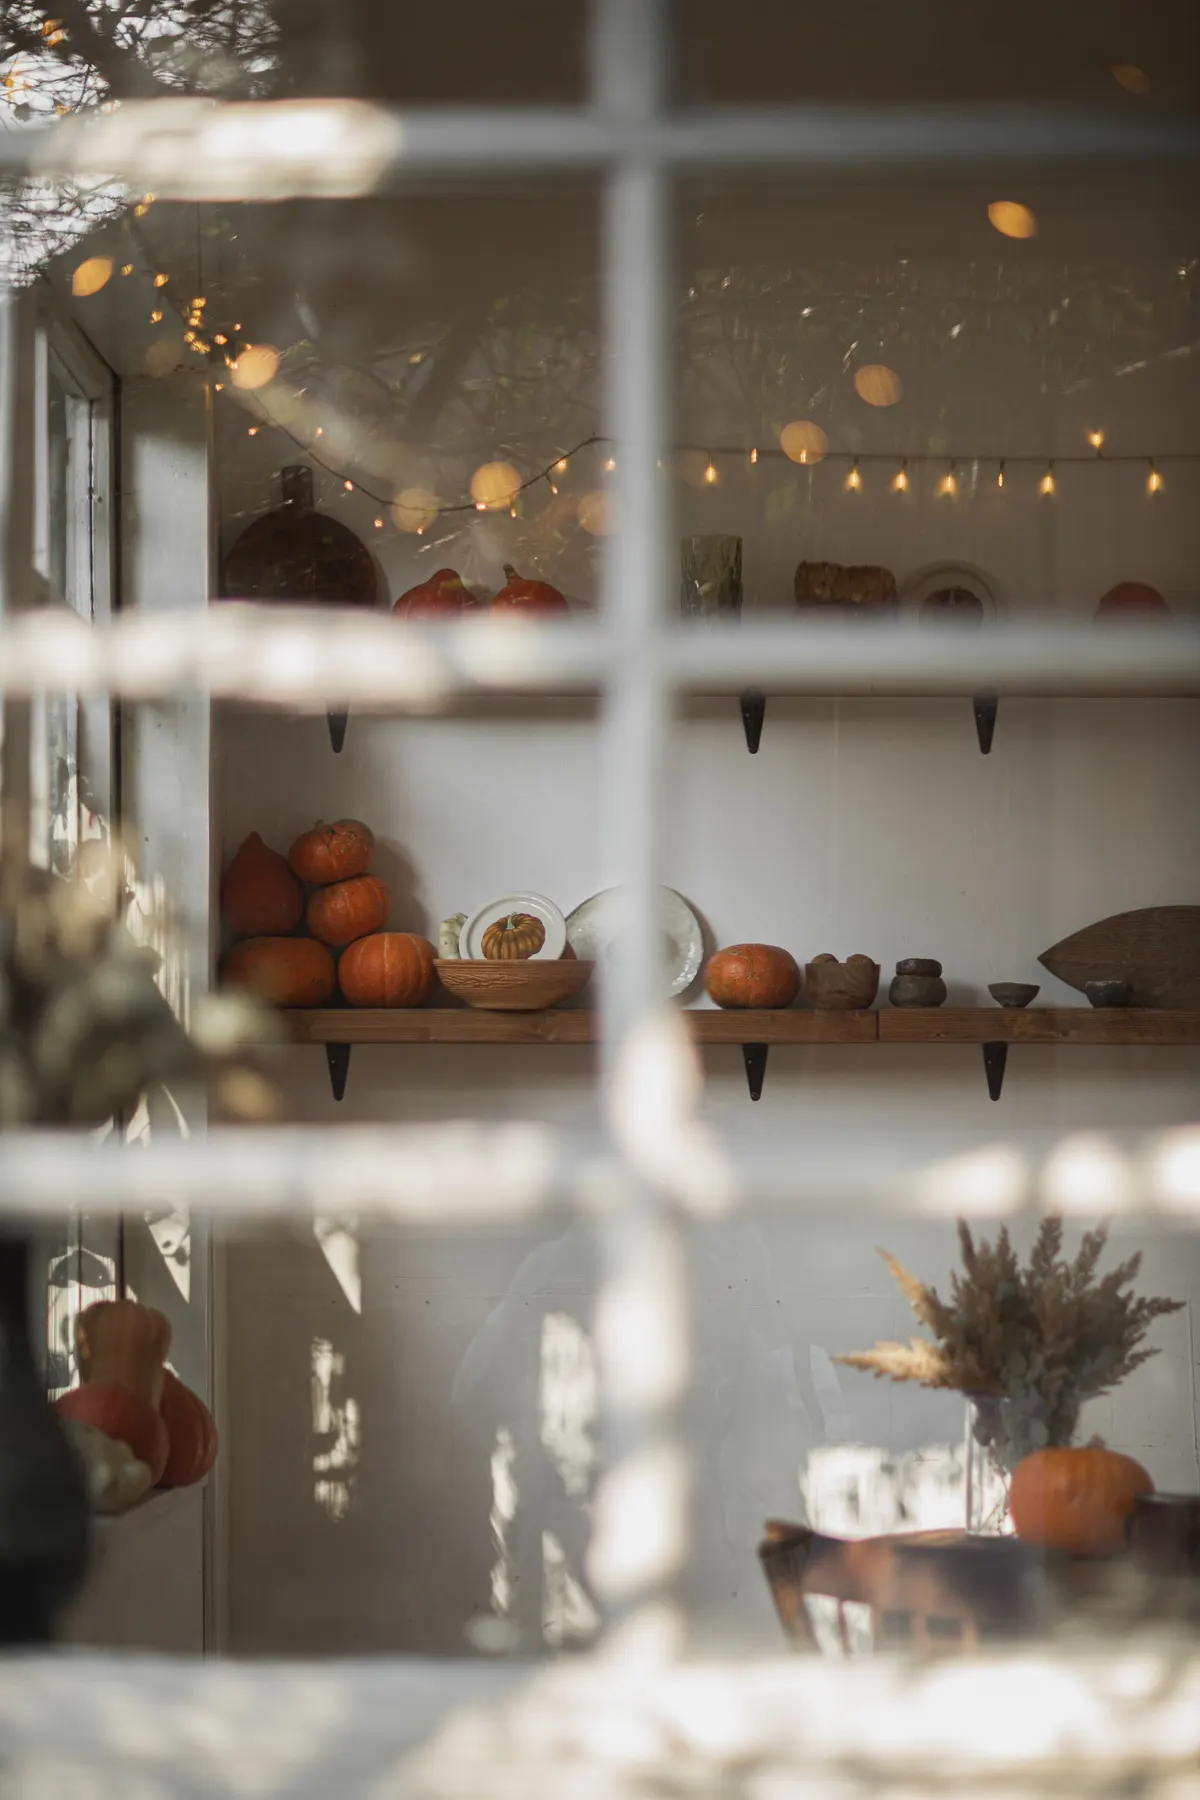
A window can be a display shelf. The one pictured has two wooden shelves of orange and pale gourds and a few plates, with a string of warm lights hanging in front of the glass.
Mount a pair of narrow shelves across the window frame, or place a small table in front of it. Mix pumpkins and gourds in two or three colors, add a clear vase of dried stems, and hang the lights across the front.
It is a calm look that works well on a kitchen window.
19. Light a window purple from inside
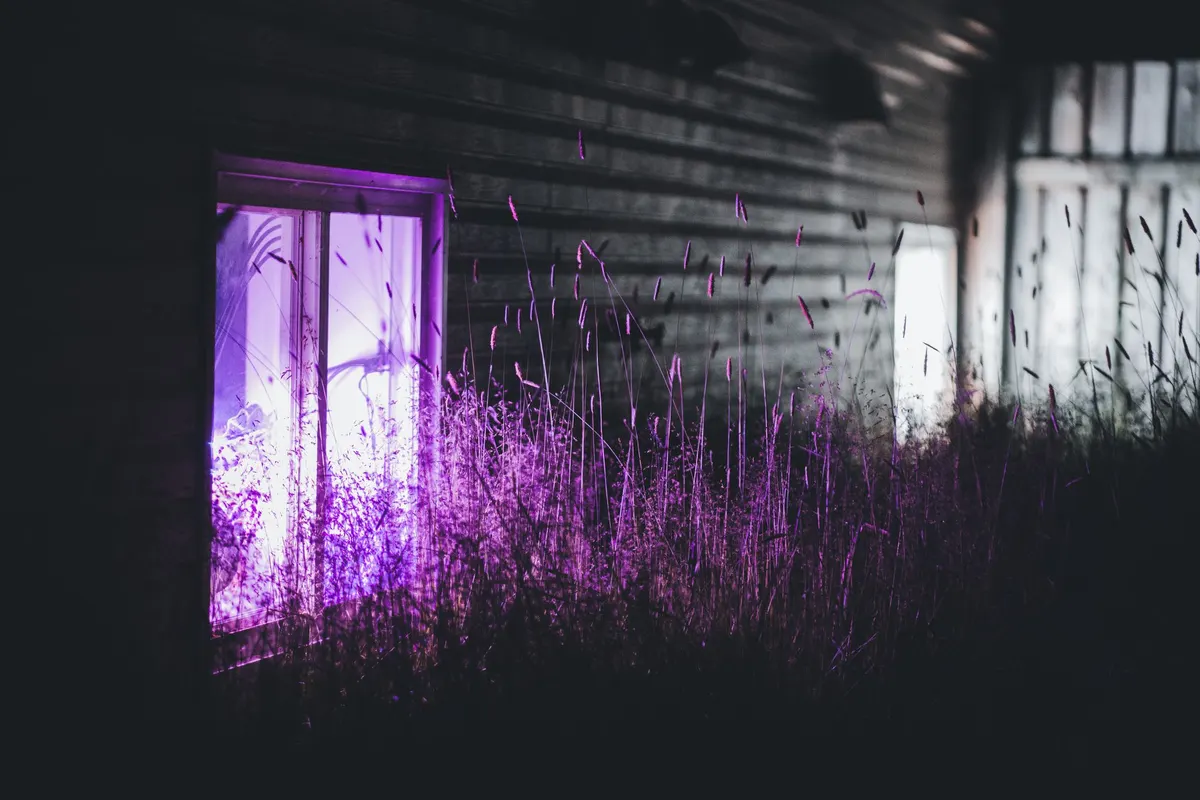
Colored light turns an ordinary house into something spooky. In the photo, a dark house at night has violet and white light glowing from three windows, and tall grasses in front are lit purple too.
Try a purple LED bulb in a lamp near the window, or tape a sheet of purple gel film over a plain light. Pair it with black curtains or silhouettes on the glass for contrast.
Use LED bulbs only. Colored incandescent bulbs and gels can get hot, and gel film should never touch the bulb.
20. Build a witch display behind the glass
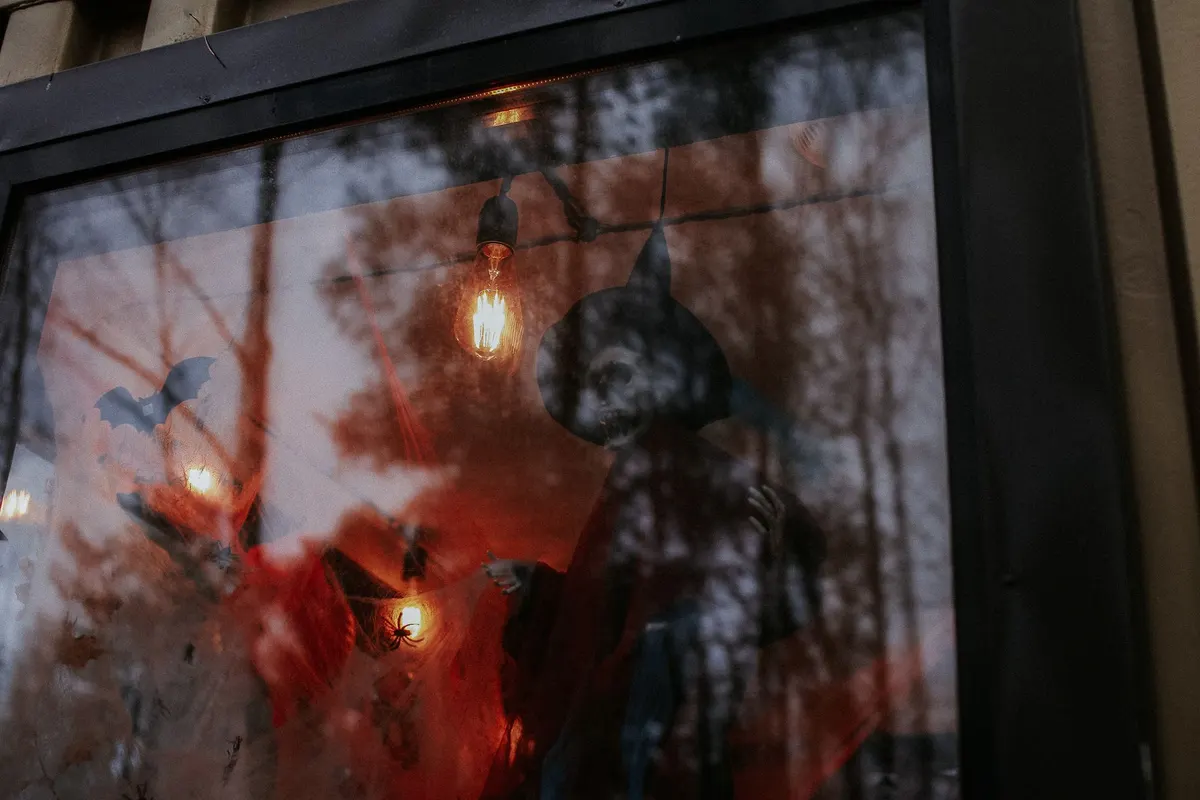
A full window scene with a skeletal witch in a pointed hat, a bat, a spider and a handful of warm bulbs makes passers-by slow down. The display in the picture sits behind black-framed glass, with white cobweb filling the corners.
Build it in layers. Put the biggest figure in the back, add cobweb and bats in the middle, and hang a few warm bulbs or a string of fairy lights across the front.
If your window faces the street, choose figures that are readable from a distance. Fine detail disappears across a lawn, while big shapes carry. See our Halloween door ideas for a matching front entrance.
Final tips
- Decorate the outside of the glass for street appeal, and the inside for weather protection.
- Keep silhouettes black and lights warm. Strong contrast reads from far away.
- Group in odd numbers: three pumpkins, five bats, one big witch.
- Use LED lights and flameless candles near paper, cobweb and curtains.
- Wipe paint off with warm soapy water and a plastic scraper within a few days of Halloween.
- For more handmade pieces, see our easy DIY Halloween decorations, office Halloween decorations and Halloween door decoration ideas.
Frequently asked questions
What paint do you use for Halloween window painting?
Use washable window paint made for glass, such as tempera-based or washable poster paint, or liquid window markers. Avoid permanent acrylics, which are hard to scrape off. Paint on the outside of the glass if rain is not forecast, so you can wipe it off from the ground, or on the inside if you want it to last through weather.
How do you get Halloween window paint off the glass?
Wet the paint with warm soapy water, let it soften for a minute, then wipe with a sponge or soft cloth. Scrape stubborn spots with a plastic scraper or an old gift card held flat. Dried washable paint usually lifts in one pass.
Can you decorate windows for Halloween without painting?
Yes. Cut silhouettes from black paper or cardstock and tape them to the glass, add static cling decals, hang ghosts, bats and skeletons from the top of the frame, or set a row of pumpkins on the sill. String lights and a lamp behind a sheer curtain give a strong glow at night.
How do you make window silhouettes glow at night?
Put black paper shapes on the glass, then place a lamp or warm string lights behind them, ideally with a thin curtain or fabric shade between the light and the glass to soften it. Orange or warm white bulbs look best. Use LED lights, because they stay cool, and keep paper and fabric well away from any hot bulb.
Is it safe to put candles in a window for Halloween?
Open flames near curtains, paper decorations and window treatments are a fire risk, so use flameless LED candles or battery tea lights instead. If you do light a real candle in a carved pumpkin, keep it on a level surface well away from fabric, paper and the glass edge, and never leave it burning unattended.
You might also like
 Halloween
22 Carved Pumpkin Ideas, From Easy Faces to Showstoppers
 Halloween
22 Halloween Door Decoration Ideas for Houses and Apartments
 Halloween
22 No-Carve Pumpkin Ideas: Paint, Fabric, Tape and Stacks
 Halloween
21 Office Halloween Decorations for Desks, Cubicles & Break Rooms
 Halloween
21 Outdoor Halloween Decoration Ideas for Yards, Trees and Paths
 Halloween
20 Painted Pumpkin Ideas: Cute, Scary, Witch & Ghost Designs